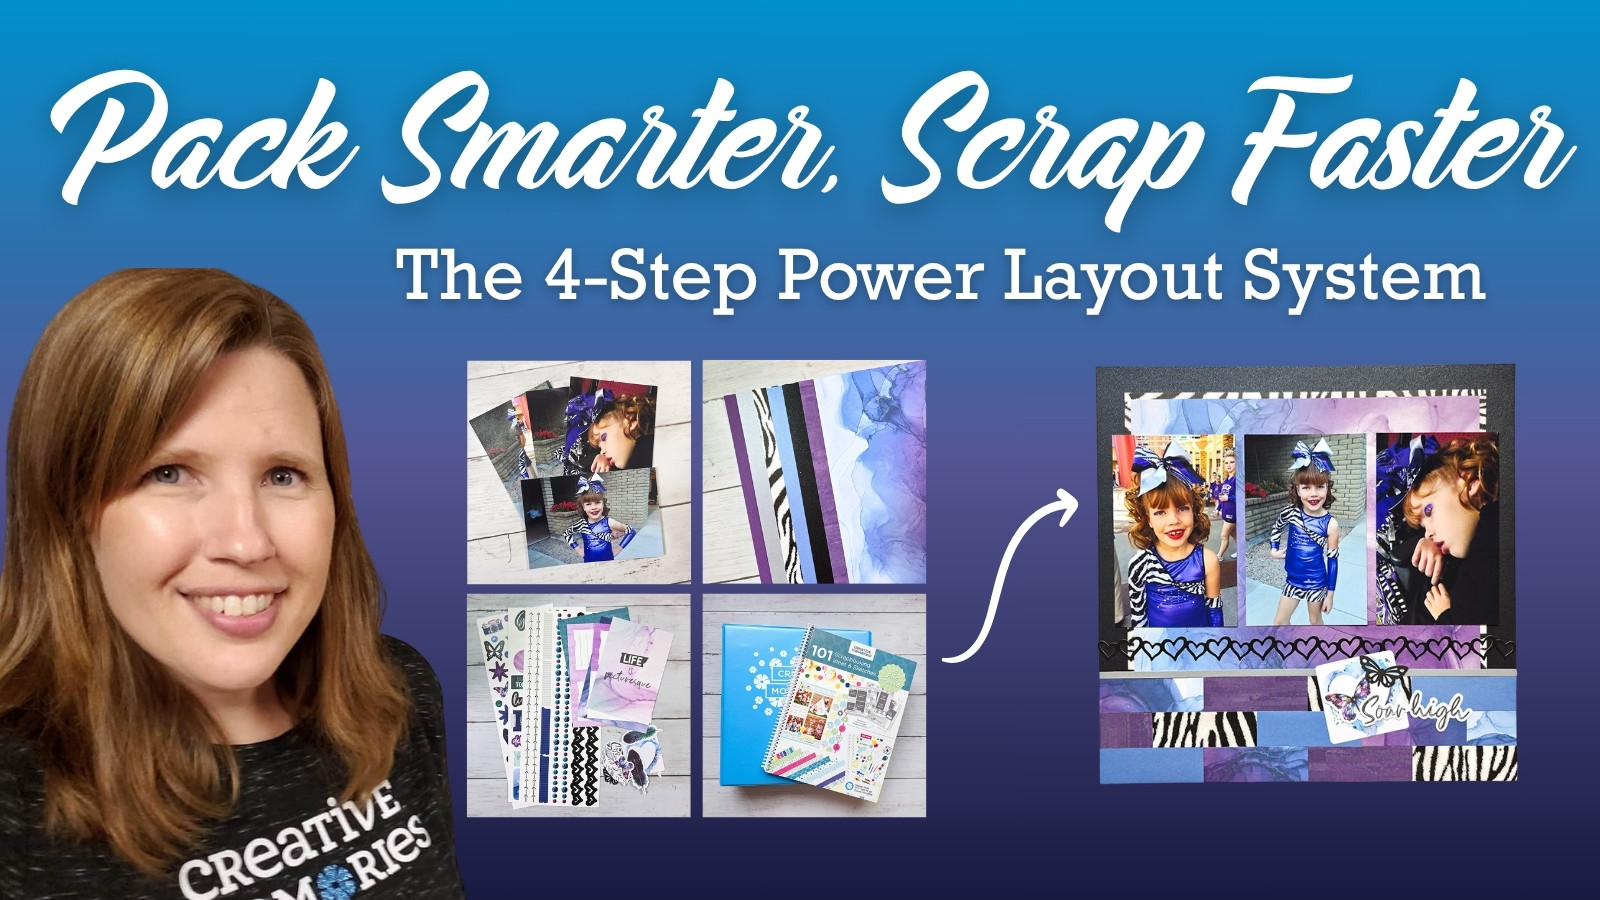
How to Prep Like a Pro for Your Next Scrapbook Crop: Use the 4-Step Power Layout System
Are you getting ready for a scrapbook crop and want to make the most of your time there? The key to a fun and productive cropping experience is preparation—and that’s where the Creative Memories Power Layout System shines. This 4-step system helps you plan your pages in advance so you can spend your crop actually creating, not just organizing.
A quick note: I do not use the Power Layout Boxes as I prefer to store my projects in the Power Simple Pockets and then store those in the 12×12 File Mate in my rolling cart. However, the steps below would be the same if you use the Power Layout Box or another method to keep the materials together.
Here’s how to get crop-ready using the Power Layout approach:
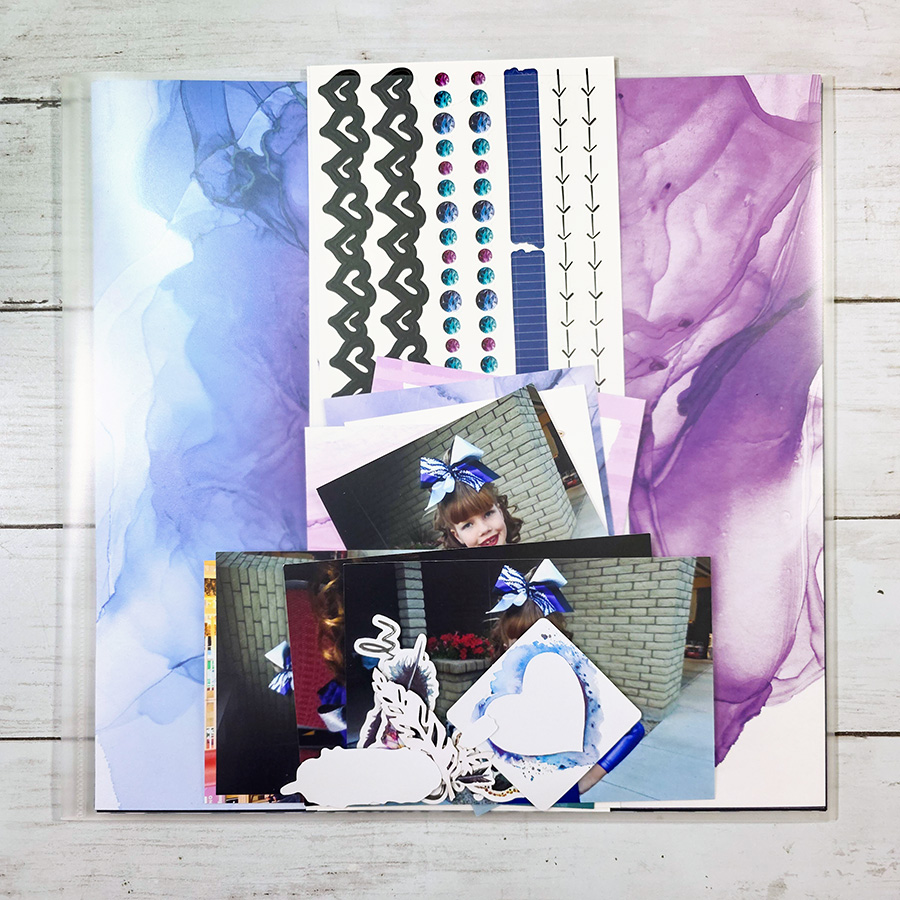
Step 1: Select Your Photos
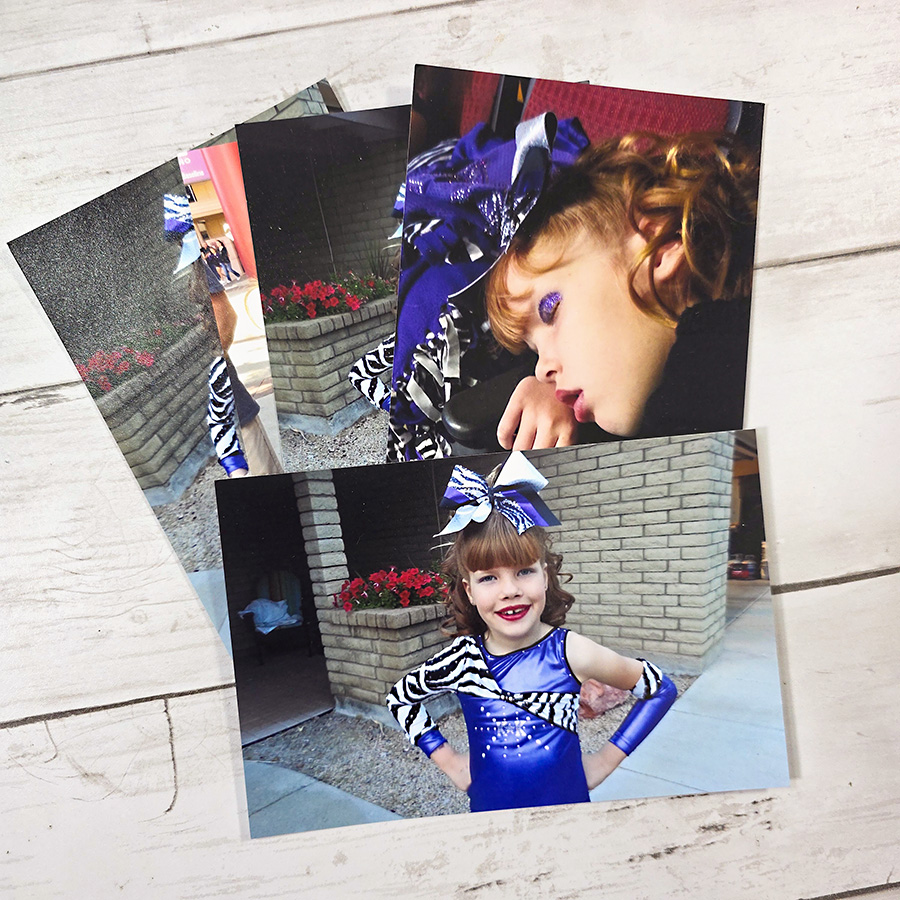
Before the crop, go through your photo stash and choose the ones you want to scrapbook. Whether you’re tackling a specific event, season, or theme, grouping your photos ahead of time will give you a clear focus.
Step 2: Select Papers to Coordinate with the Photos
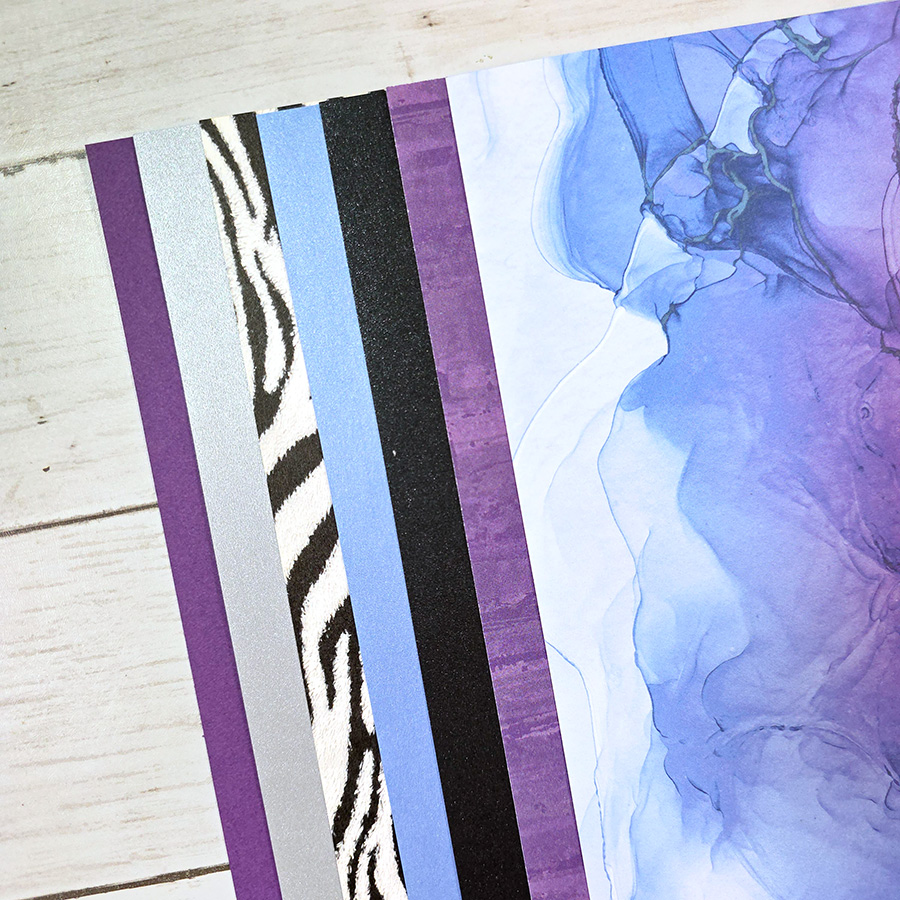
Next, match coordinating papers to each photo set. This could be a mix of designer papers and cardstock that bring out the colors or mood of your pictures.
Step 3: Select the Tools and Embellishments to Enhance the Layout
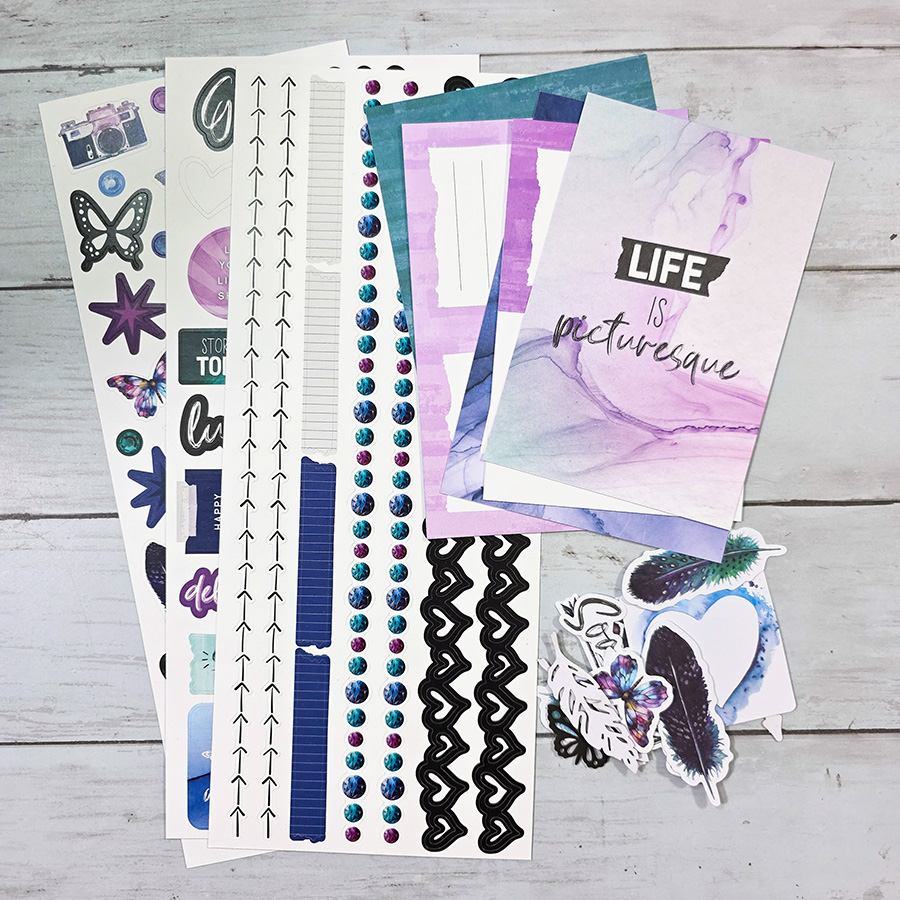
This is where the fun begins—pick out the stickers, mats, embellishments, border strips, and tools that will bring your pages to life. You don’t need to bring your entire stash; just select the accents that match the theme or vibe of your layout.
Tip: Consider pre-punching borders in coordinating cardstock so that you don’t have to haul all of your tools!
Tip: Pre-pack these with each layout section, so you’re not wasting time digging through supplies at the crop. The Creative Memories Power Simple Pocket works great to keep everything together!
Step 4: Select an Idea from Your Idea Binder or Sketchbook
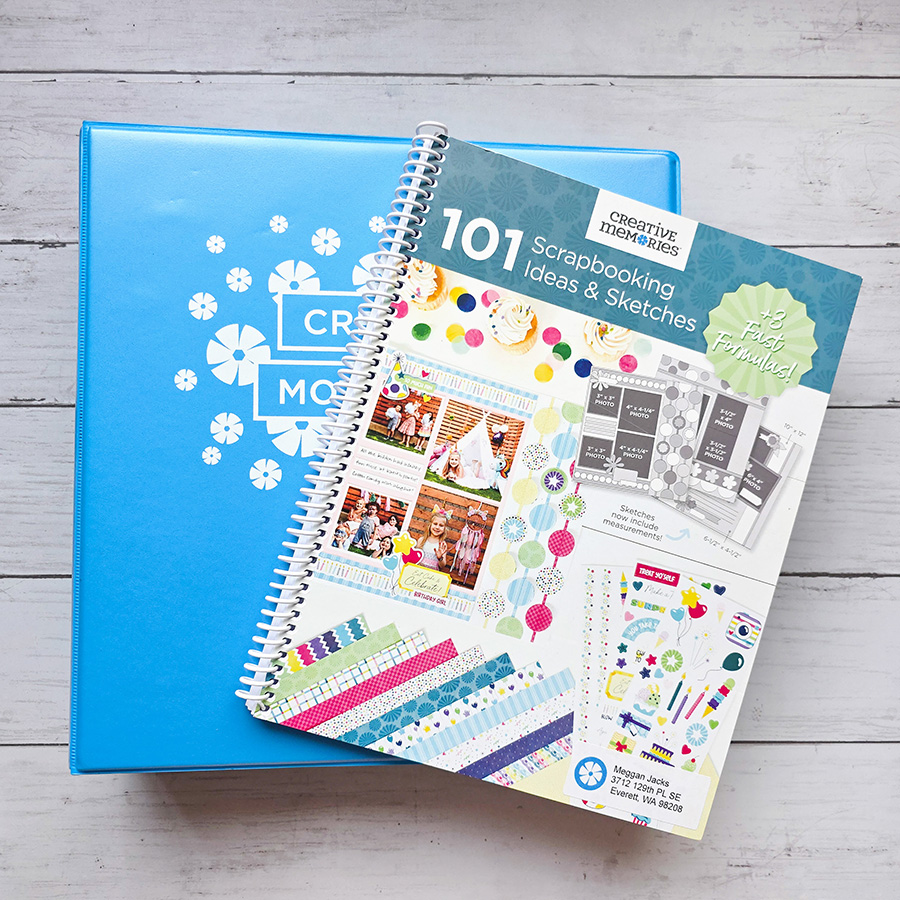
Finally, choose a layout design for each page or spread. Whether you pull inspiration from an idea binder, sketchbook, or printed layout guides, having a plan for page structure helps you jump straight into creating.
Tip: Tuck a copy of your chosen sketch in with each layout in your box—it’s like having a blueprint ready to go. If working from a book, use a Post-It Note to indicate the book name and page number of the sketch you want to use!
Power Layout = Maximum Crop Productivity

By walking through these four simple steps before you leave for your crop, you’ll arrive prepared, focused, and ready to create. No more decision fatigue or creative blocks—you’ll have all your pieces in place so you can enjoy the company, the creativity, and most importantly—get pages done!
Give it a try for your next crop—you’ll be amazed at how much you can accomplish with a little planning and the Power Layout System.