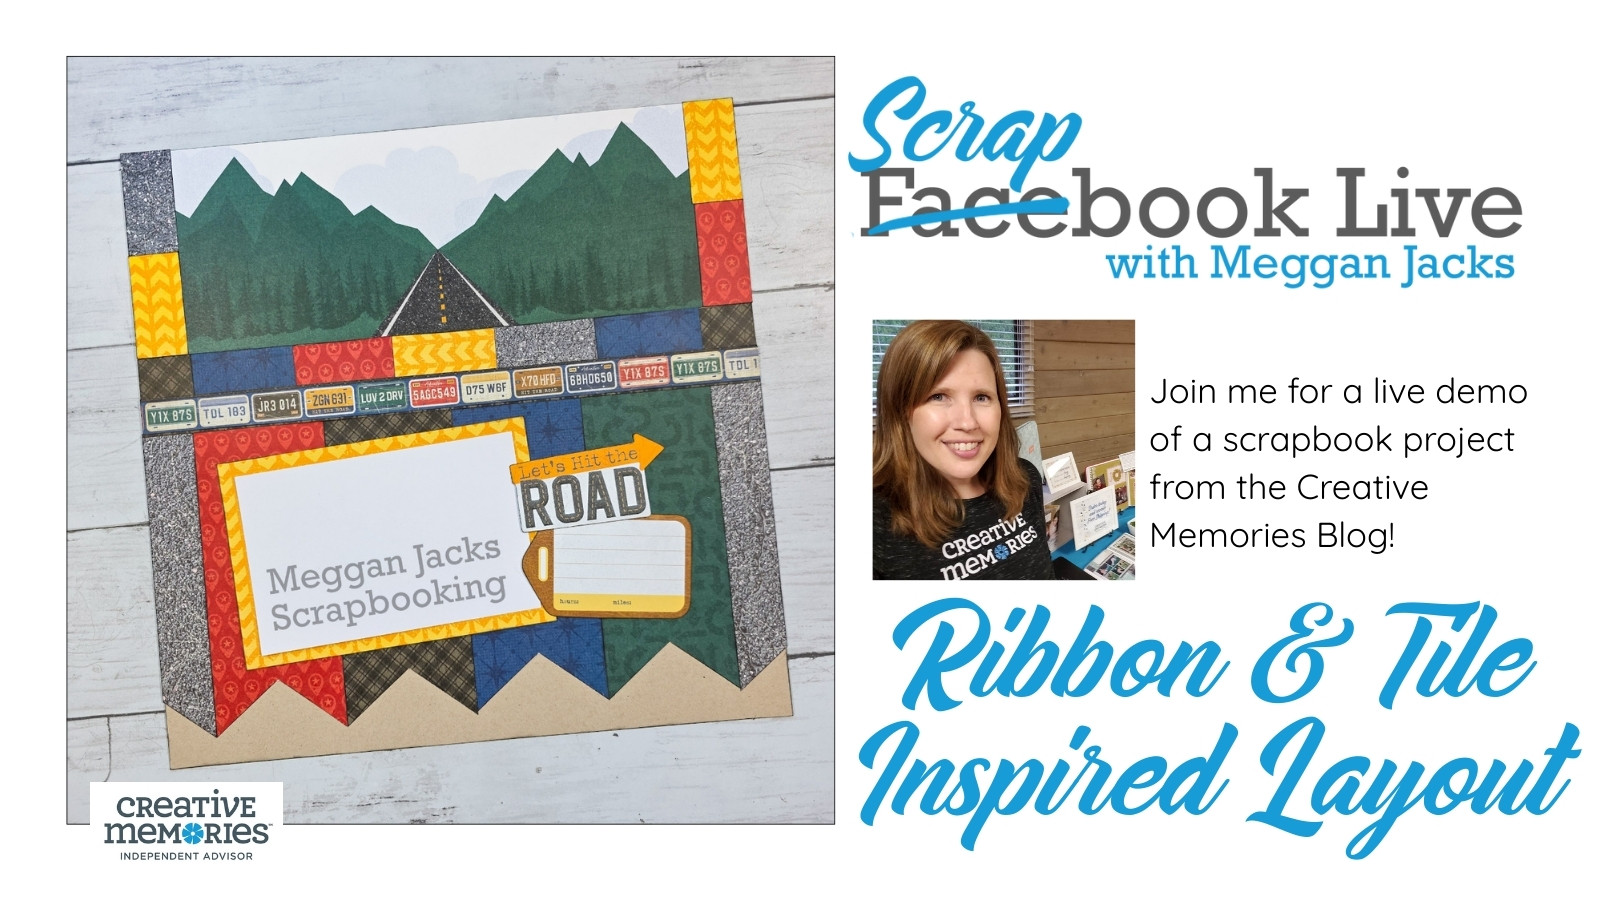
From the Creative Memories Blog: Ribbon & Tile-Inspired Layout
One of the main premises of Scrapbook live is taking inspiration from existing projects and making them my own. For this week’s episode, I’m reimagining a Creative Memories blog layout made with the Poolside Paradise collection that combines two fun design details: a ribbon-inspired paper border at the bottom and a tiled “frame” effect around the photos on top half of the page. The best part? You can recreate both looks with nothing more than your 12-inch Trimmer and some scraps from your stash.
Ribbon Details with Paper Scraps
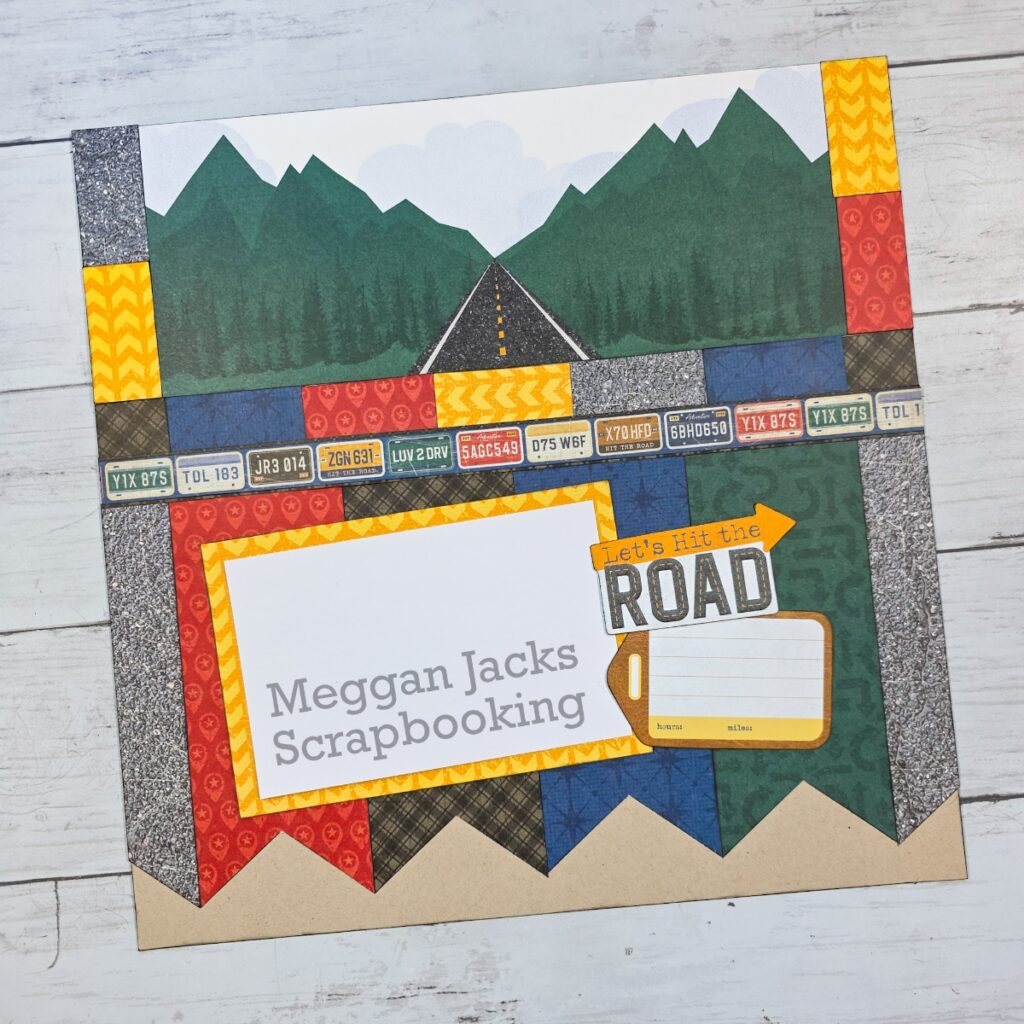
The lower half of this design features strips of patterned paper with “V” cuts made at the bottom edge of each one so they look like ribbons lined up side-by-side. This detail adds playful movement and color variety while also being a perfect way to use up those little pieces of paper we all hang on to.
Tip: For a consistent look, keep the strips the same width. For a more eclectic feel, vary them! Either way, trimming those ends into ribbon points will make the design pop.
Creating a Tiled Frame Effect
At the top of the layout, the original design used a paper featuring a tiled border. Since that exact paper may not be in your collection, I’ll show you how to re-create the look using scraps. By cutting small squares (or rectangles) and lining them up in a row, you can mimic the look of tile surrounding your photos.
This technique works with any theme or color palette—bright summer tones for poolside photos, earth tones for outdoor adventures, or bold patterns for a party layout. Once you build your “tiles,” you’ll see how they instantly give your photos a framed, finished look.
Tools You’ll Need
- 12-inch Trimmer – for clean, even cuts
- Scraps of patterned paper – mix and match colors, patterns, and themes
- Adhesive – can’t make a page without it!
- Scissors or the 3-in-1 Ribbon End Punch (retired)
That’s it! This is truly a project you can create with what you already have on hand.
Adapt & Make It Your Own
Layouts like this are what I call “technique layouts.” The beauty is that they aren’t tied to any specific collection. Instead, they give you a foundation you can personalize to match your photos and style. You’ll learn how to build the details step by step during class, and once you’ve got the hang of it, you can use the ribbon and tile ideas again and again.
My Demo Layout – Travel Themed Layout with the Hit the Road Papers
I used the designer papers from the Hit the Road collection for my layout. I decided that this will be the first page layout for a travel album, so I kept it simple with just one photo, giving the mountain and road scene of the paper plenty of room to shine.
Demo Video – Ribbon & Tile-Inspired Layout
The Handout
Need Creative Memories Supplies?
Please consider shopping with me when you shop Creative Memories online! You can also shop my personal inventory of new and retired Creative Memories supplies (click the blue button below).