Sometimes the simplest techniques make the most stunning pages!
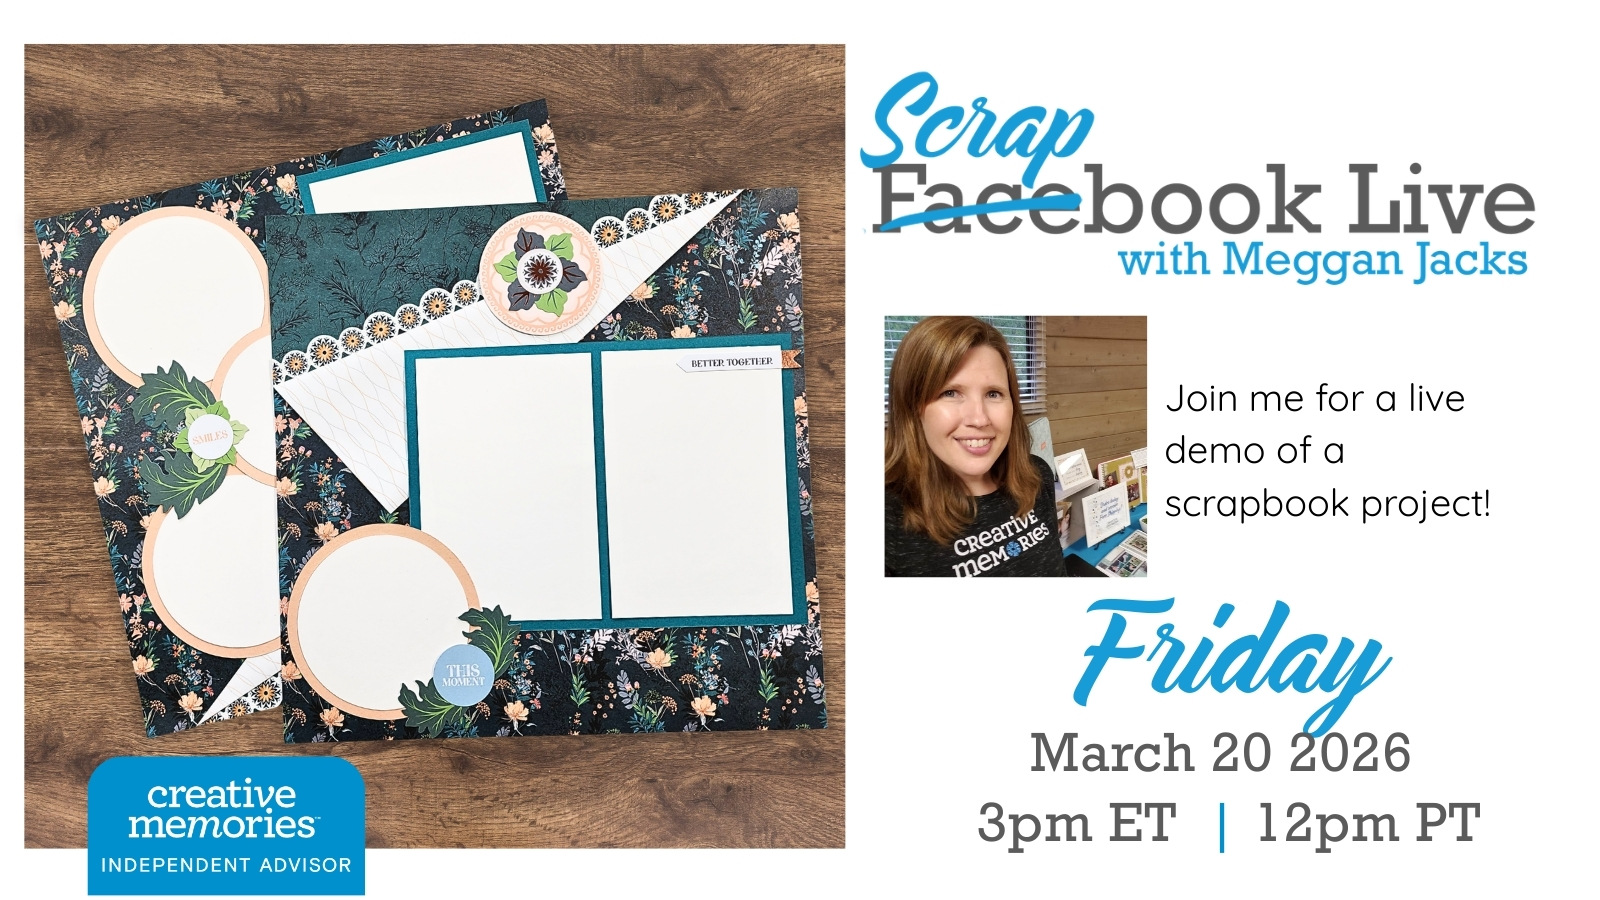
I have been sitting on this one for a while — and I am SO excited to finally share it with you. This week on Scrapbook Live, we are making a two-page with one of a simple, but oh, to effective, technique: folding the opposite corners of your designer paper to showcase BOTH sides of the paper at once.
That’s it. A fold. And the result is genuinely gorgeous.
The sample layout I’m sharing comes from my customer vault — it’s a design I created back in 2022 using the Gem Tones collection from Secret Box #3. I’ve always loved the overall look of this layout, and I can’t wait to finally walk you through it live. The good news is you do NOT need the Gem Tones papers to make it work. This technique is completely adaptable to any double-sided designer paper you already own.
Here’s what makes this technique so special
Designer papers are double-sided for a reason — and a simple fold is one of the most beautiful ways to take advantage of that. By folding opposite corners of two coordinating sheets, you instantly create a layout base that has depth, visual interest, and a polished look without any complicated cuts or tools. This fold has a bit of a peekaboo element to it – tuck in a photo, embellishments or a bit of journaling into the exposed corners.
And here’s the thing I really want you to take away from this week: not every layout needs to be complex. Simple CAN be stunning. In fact, a clean, simple base is often exactly what your photos need to truly shine. When the background isn’t competing for attention, your pictures get to be the star of the page — and isn’t that the whole point?
We will also be using the Creative Memories Custom Cutting System Circle Patterns to create circular mats, plus additional cardstock for rectangular mats, so your photos are beautifully framed and ready to anchor the design.
Here’s what we’ll cover
- How to fold opposite corners of your designer paper to reveal both sides at once
- How to use the CM Custom Cutting System Circle Patterns to cut perfect circular mats
- Creating rectangular cardstock mats to frame your photos
- How to adapt this design to any double-sided designer paper in your stash
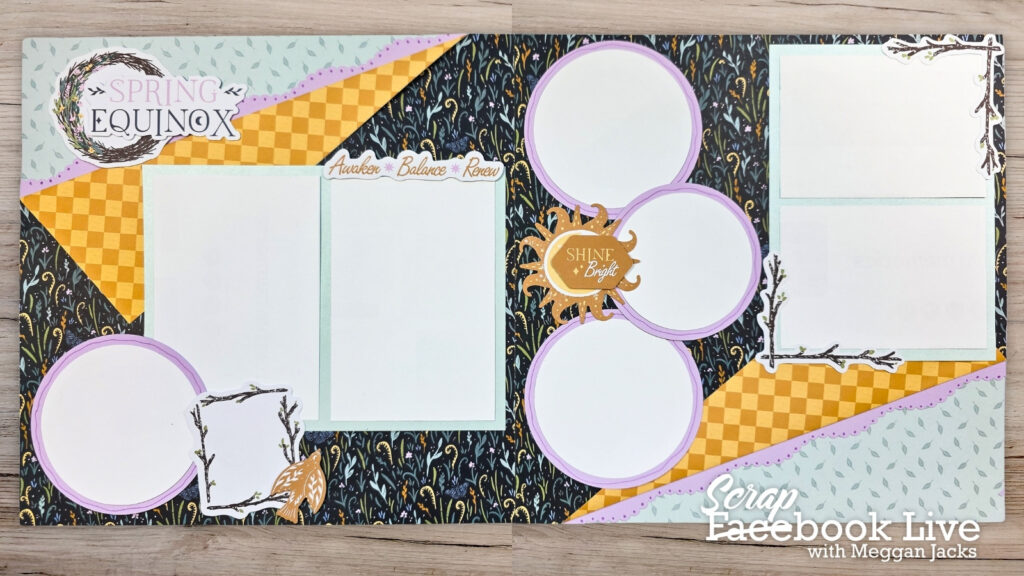
Video Demo using Spring Equinox Collection
Grab Your Free Printable Handout
Download your free handout below — it includes a photo of the inspiration layout plus step-by-step instructions so you can follow along at home or bring it to your next crop!
Need New or Retired Creative Memories Supplies?
Please consider shopping with me when you shop Creative Memories online! You can also shop my personal inventory of new and retired Creative Memories supplies (click the blue button below).