Scrapbook Live: Frame Punch Tool Tips
This week on Scrapbook Live, we’re diving into Frame Punch Tool Tips—how these tools work, how to avoid common mistakes, and a few creative ways to get more mileage out of them. Frame punches can feel intimidating at first, but once you understand the logic behind them, they become incredibly versatile.
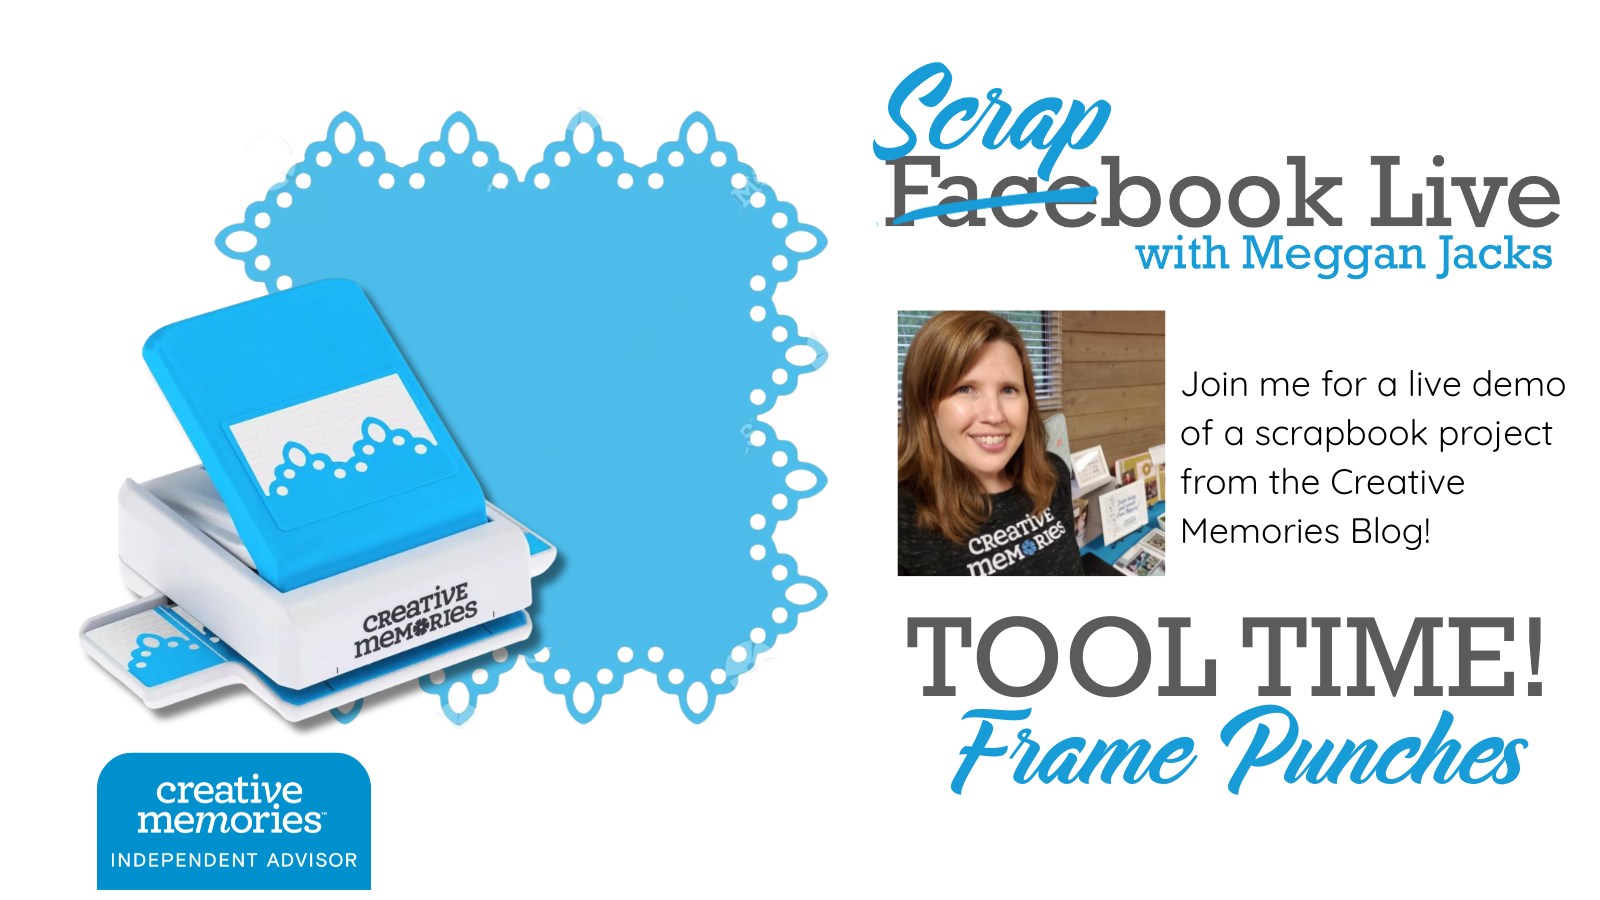
What Is a Frame Punch?
A frame punch is designed to punch more than just a straight border. Unlike traditional border tools, a frame punch allows you to turn corners and punch multiple sides of a piece of paper, creating a continuous decorative frame.
Creative Memories has released several frame punch patterns over time, including:
- Geometric
- Petal
- Baroque
- Damask
- Spider Webs
- Cloud
- Pumpkin Patch
- Snowflake
- Spring Leaf
Each pattern is 2 inches wide (the same width as a Border Maker Cartridge), but the depth of each design varies.
Frame Punch Basics
There are a few things to know when working with frame punches:
- Your paper must be cut to an even-numbered measurement on each side (4″, 6″, 8″, etc.).
- Always start with the edge of the paper lined up on the silver alignment line on the wing of the punch.
- Punch until the opposite edge of the paper reaches the silver line on the opposite wing.
- Rotate the paper 90 degrees and repeat on the next side.
To avoid over-punching, use this formula to determine how many times to punch on each side:
Number of punches = (M ÷ 2) ? 1
Where M is the measurement of the side.
Example:
For an 8″ side ? (8 ÷ 2) ? 1 = 3 punches
Punching in the Round
Some frame punch designs can be used in the round, but results will vary depending on the depth of the pattern. Practice first—this is not a technique you want to try for the first time on your pretty paper.
Basic process:
- Start with the blue blade on the outside track of the Jumbo Circle CCS Pattern.
- Mark the circle at the 45-degree intervals.
- Find the center of your punch and align it with each 45-degree mark.
- Punch once on each mark.
- Go back and punch between the previously punched sections.
- You may need to do a bit of careful trimming between punches to clean things up.
Using Border Maker Cartridges as Frame Punches
Some Border Maker Cartridges can mimic the look of a frame punch, especially those with a self-contained edge design. Good candidates include:
- Sunshine Arches
- On the Road
- Rolling Sails
- Tent and Trees
- Rolling Bikes
- Treeline
- Dolphins
- Home Sweet Home
To use a BMC this way:
- Cut your paper to an even measurement (must be smaller than 12″).
- When placing the paper in the Border Maker System, line the edge of the paper up 1 inch from the short edge of the paper tray.
- Use the same punch formula as frame punches:
(M ÷ 2) ? 1
Again—practice first. This technique is very doable, but alignment matters.
If you’ve ever felt unsure about frame punches, this week’s Scrapbook Live will help everything click. Once you understand the spacing and alignment, these tools open up a lot of design possibilities without adding complexity to your workflow.
Frame Punch Demo Video
Frame Punch Tool Tips Handout
Need New or Retired Creative Memories Supplies?
Please consider shopping with me when you shop Creative Memories online! You can also shop my personal inventory of new and retired Creative Memories supplies (click the blue button below).