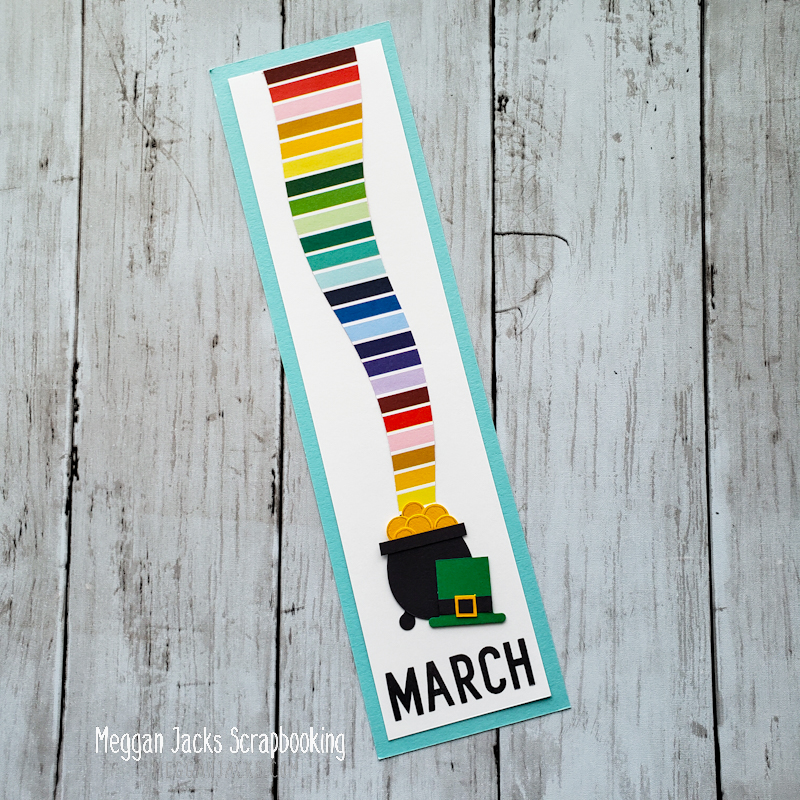
This is a completely random page border to share in the month of November, but who doesn’t love a rainbow?! I’ve shared January and February in my Facebook group, Scrapbooking with Meggan, and thought I’d try out sharing March here on my blog.
I intended to create a scrapbook border using the older Creative Memories Border Maker Cartridges and punches in a more typical manner, but then one thing led to another and this is what I came up with. It does show the versatility of the punches and that sometimes just looking at the punches to see what other shapes you can get from bits and pieces opens up all new avenues of use. 🙂
Supplies Used:
Fresh Fusion Rainbow Designer Papers (retired)
White, Aqua, Black and Goldenrod Cardstock
Fresh Green Cardstock (retired)
Alphabet Stamp Kit
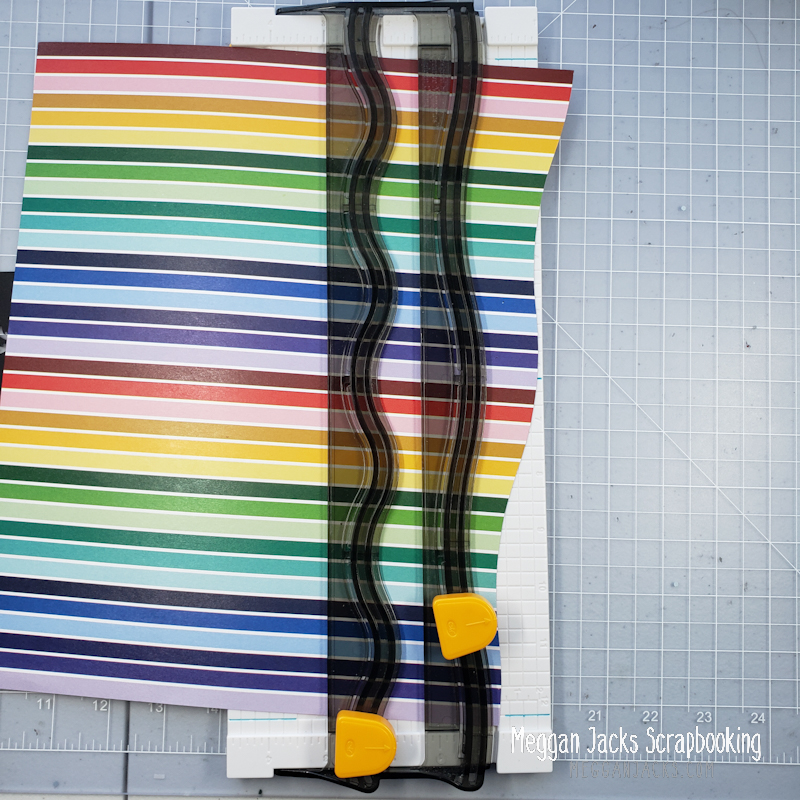
12″ Decorative Trimmer
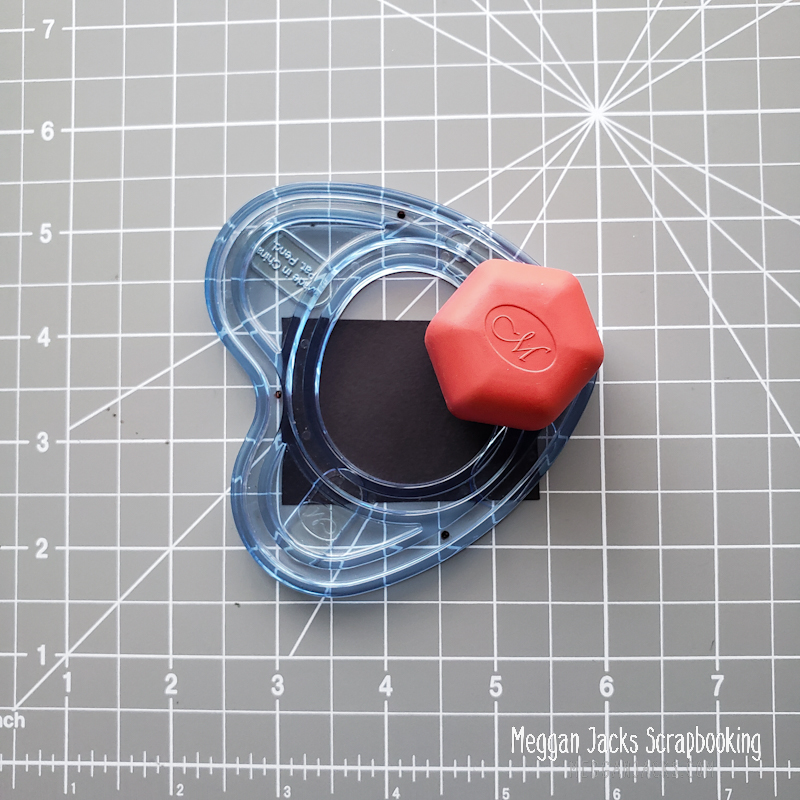
Small Heart Template from Gemstone Custom Cutting System
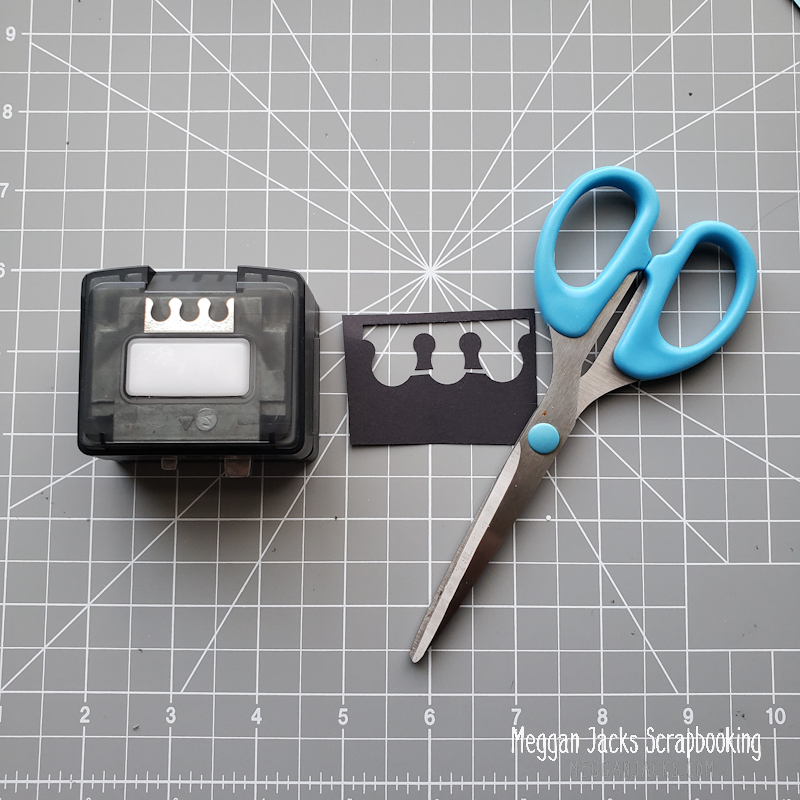
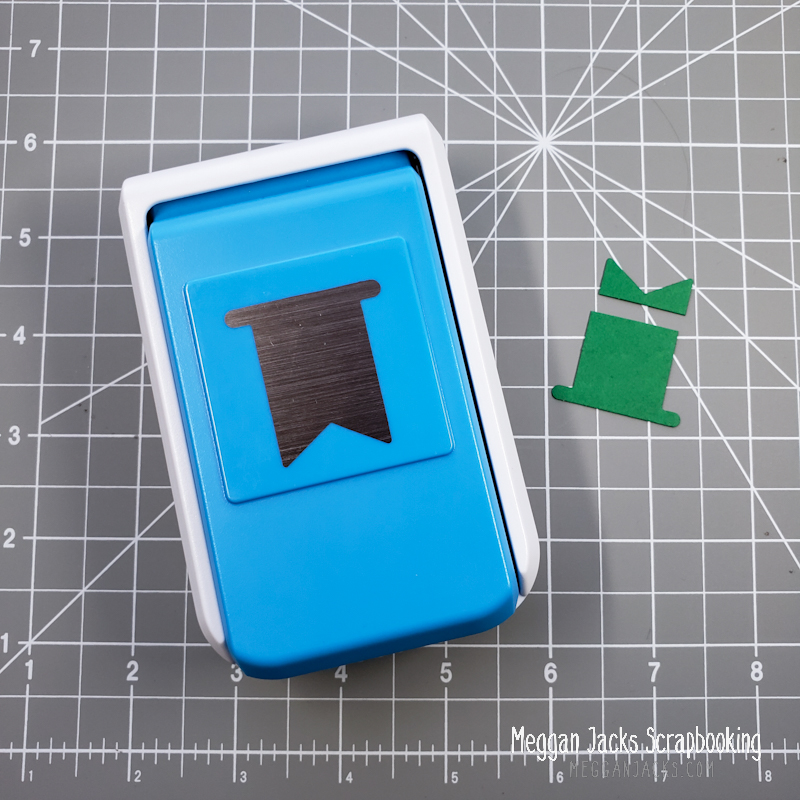
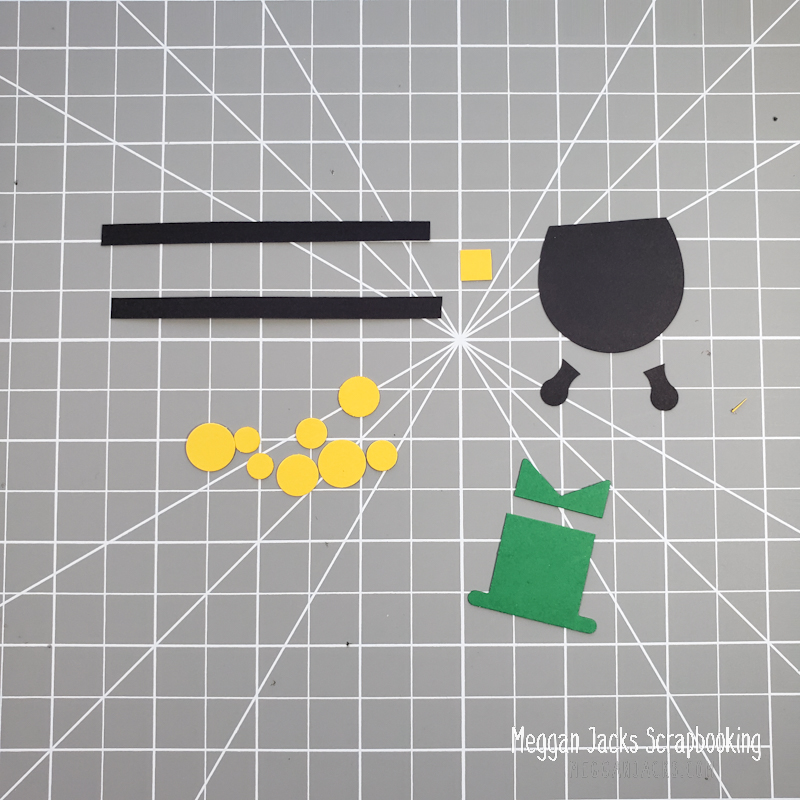
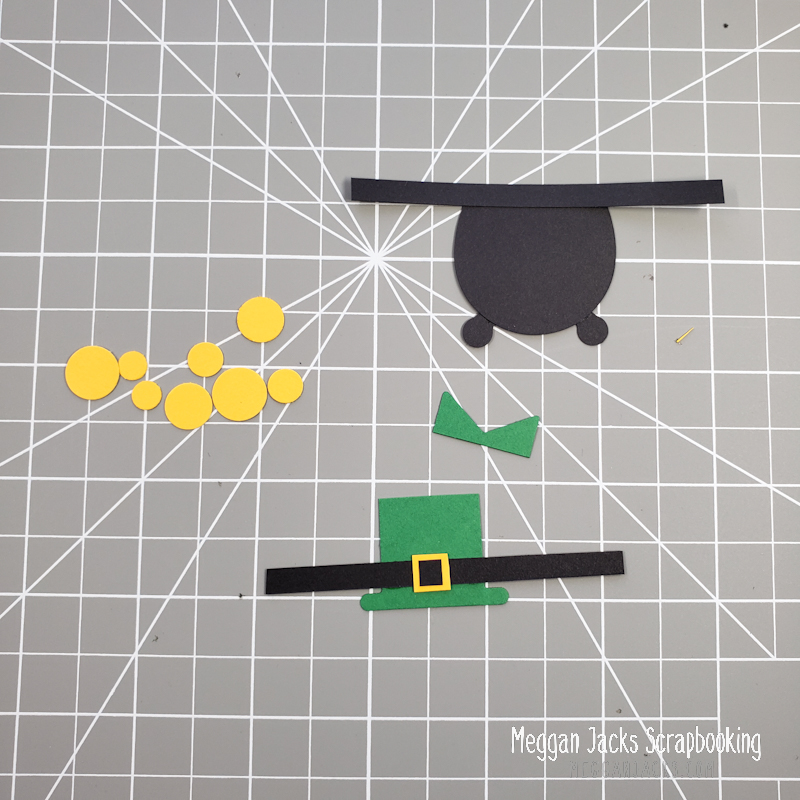
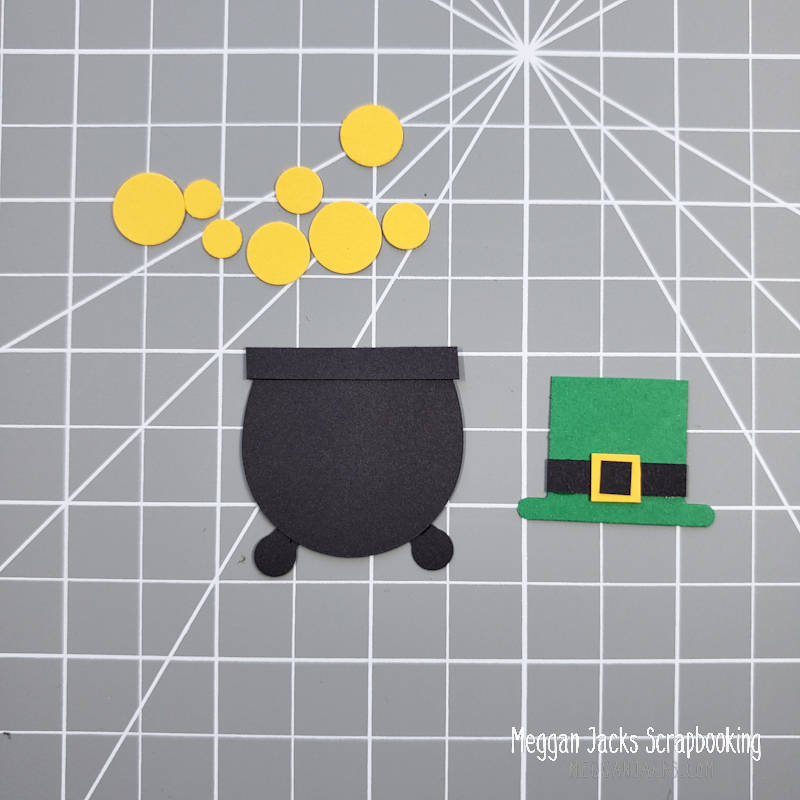
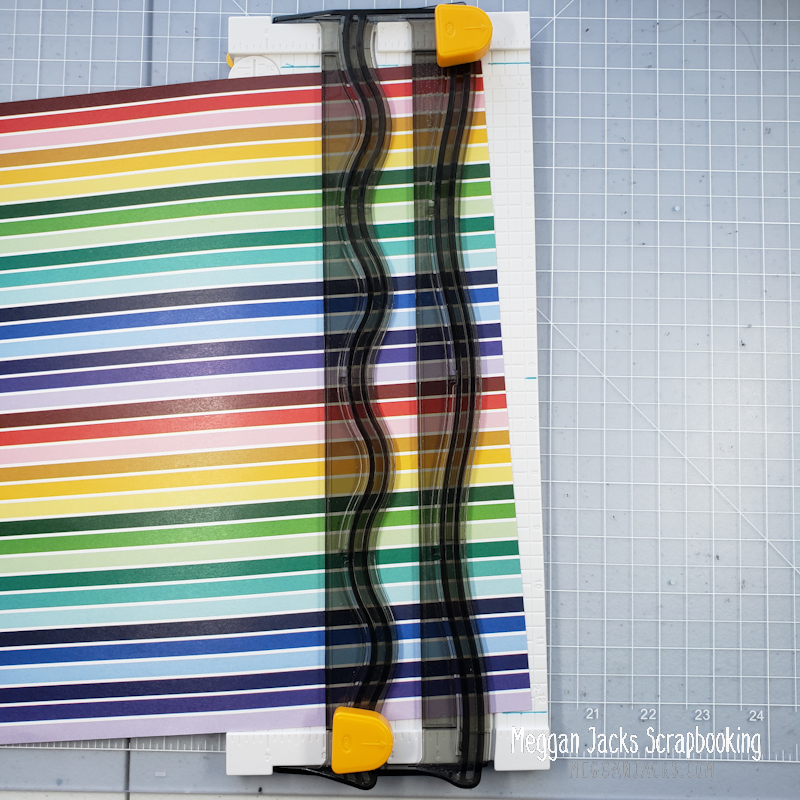
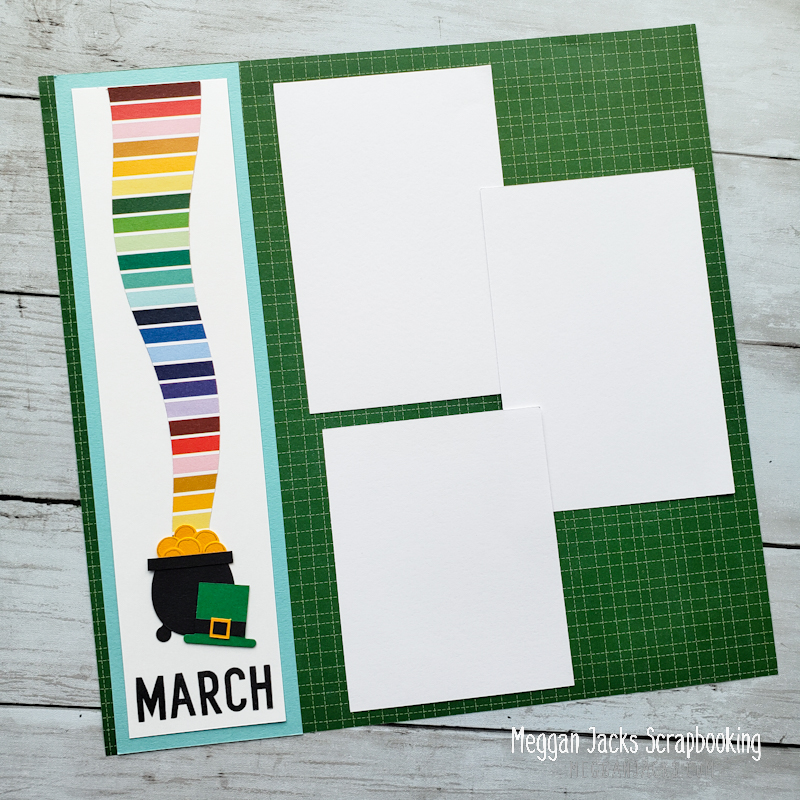
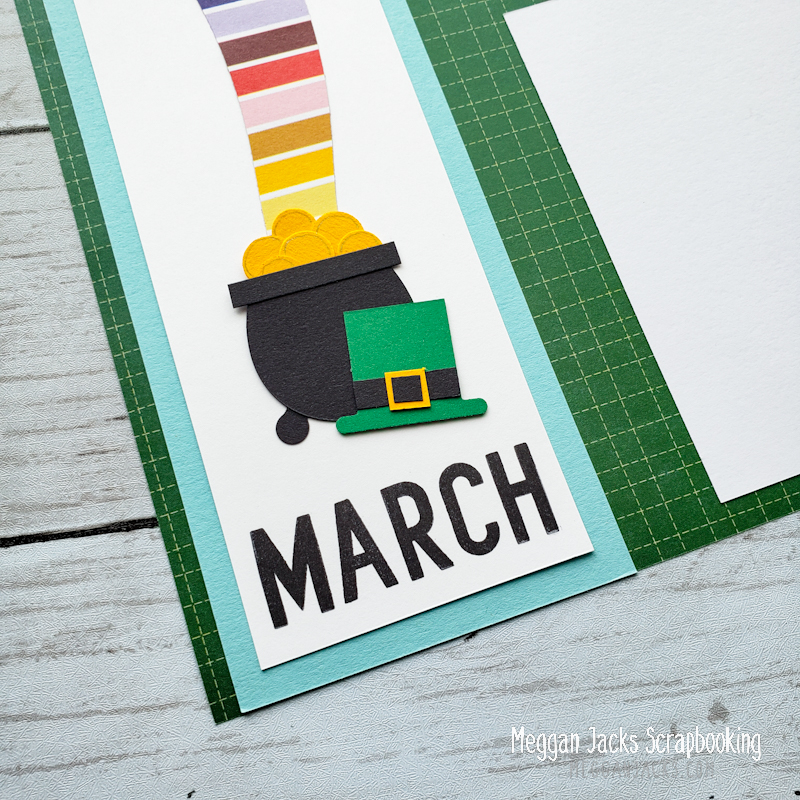
The Creative Memories Alphabet Stamp system is a great sans-serif font. I do prefer a deeper black impression, so I use it with the Stampin’ Up Archival Black ink pad.Use the small heart template from the Gemstone Custom Cutting System with red blade on inner track (the small egg shape) to make the pot. You don’t need a full egg, as you want a flat top.I used the Crown Border Maker Cartridge to make the feet of the pot. I did a quick punch with some scrap black paper by putting the BMC in the cartridge holder and using it as a hand held punch. I used scissors to cut off the two crown tips as shown.I punched a scrap of Fresh Green with the Banner Punch and then cut off the banner tips to make a hat.I trimmed two strips of black cardstock to 3/16ths inch and punched some circles out of goldenrod cardstock with the Bubbles Border Maker Cartridge. I also cut a small square, about 1/4 x 1/4 inch in Goldenrod for the hat buckle.I used the Adhesive Glue Pen to put things together – it has a fine tip perfect for these small details. I trimmed a small square piece off the edge of the black strip to make the black insert for the buckle. Here are the pieces all put together. The gold will be put in the pot prior to putting it all on the page.To make the Rainbow Funnel, I used the Creative Memories iconic 12 inch Decorative Trimmer and put the paper in on an angle as shown and cut.I adjusted the paper to make the funnel shape and cut again. All of the pieces you need. It’s hard to tell, but I cut off the bottom of the rainbow funnel just below the lime green as it end in the pot of gold. TIP: Stamp the MARCH before you adhere any of the decorative elements. This way, if you mess up (like I did) you can flip the paper over and try again!I am not ready to make a page with photos (Check back in April 2021!) but I am thinking to pair it with a tonal green color paper.I used an older Creative Memories Fine Tip Metallic Gold Pen to detail the gold coins.
Please be sure to join my Facebook Group, Scrapbooking with Meggan if you are on Facebook, or subscribe to my blog for additional creative scrapbooking ideas.
Hi Meggan, I have found the February and March borders, was there one for January? Would love to use them for next years album.
Thanks for all the great ideas.


Hi Meggan, I have found the February and March borders, was there one for January? Would love to use them for next years album.
Thanks for all the great ideas.