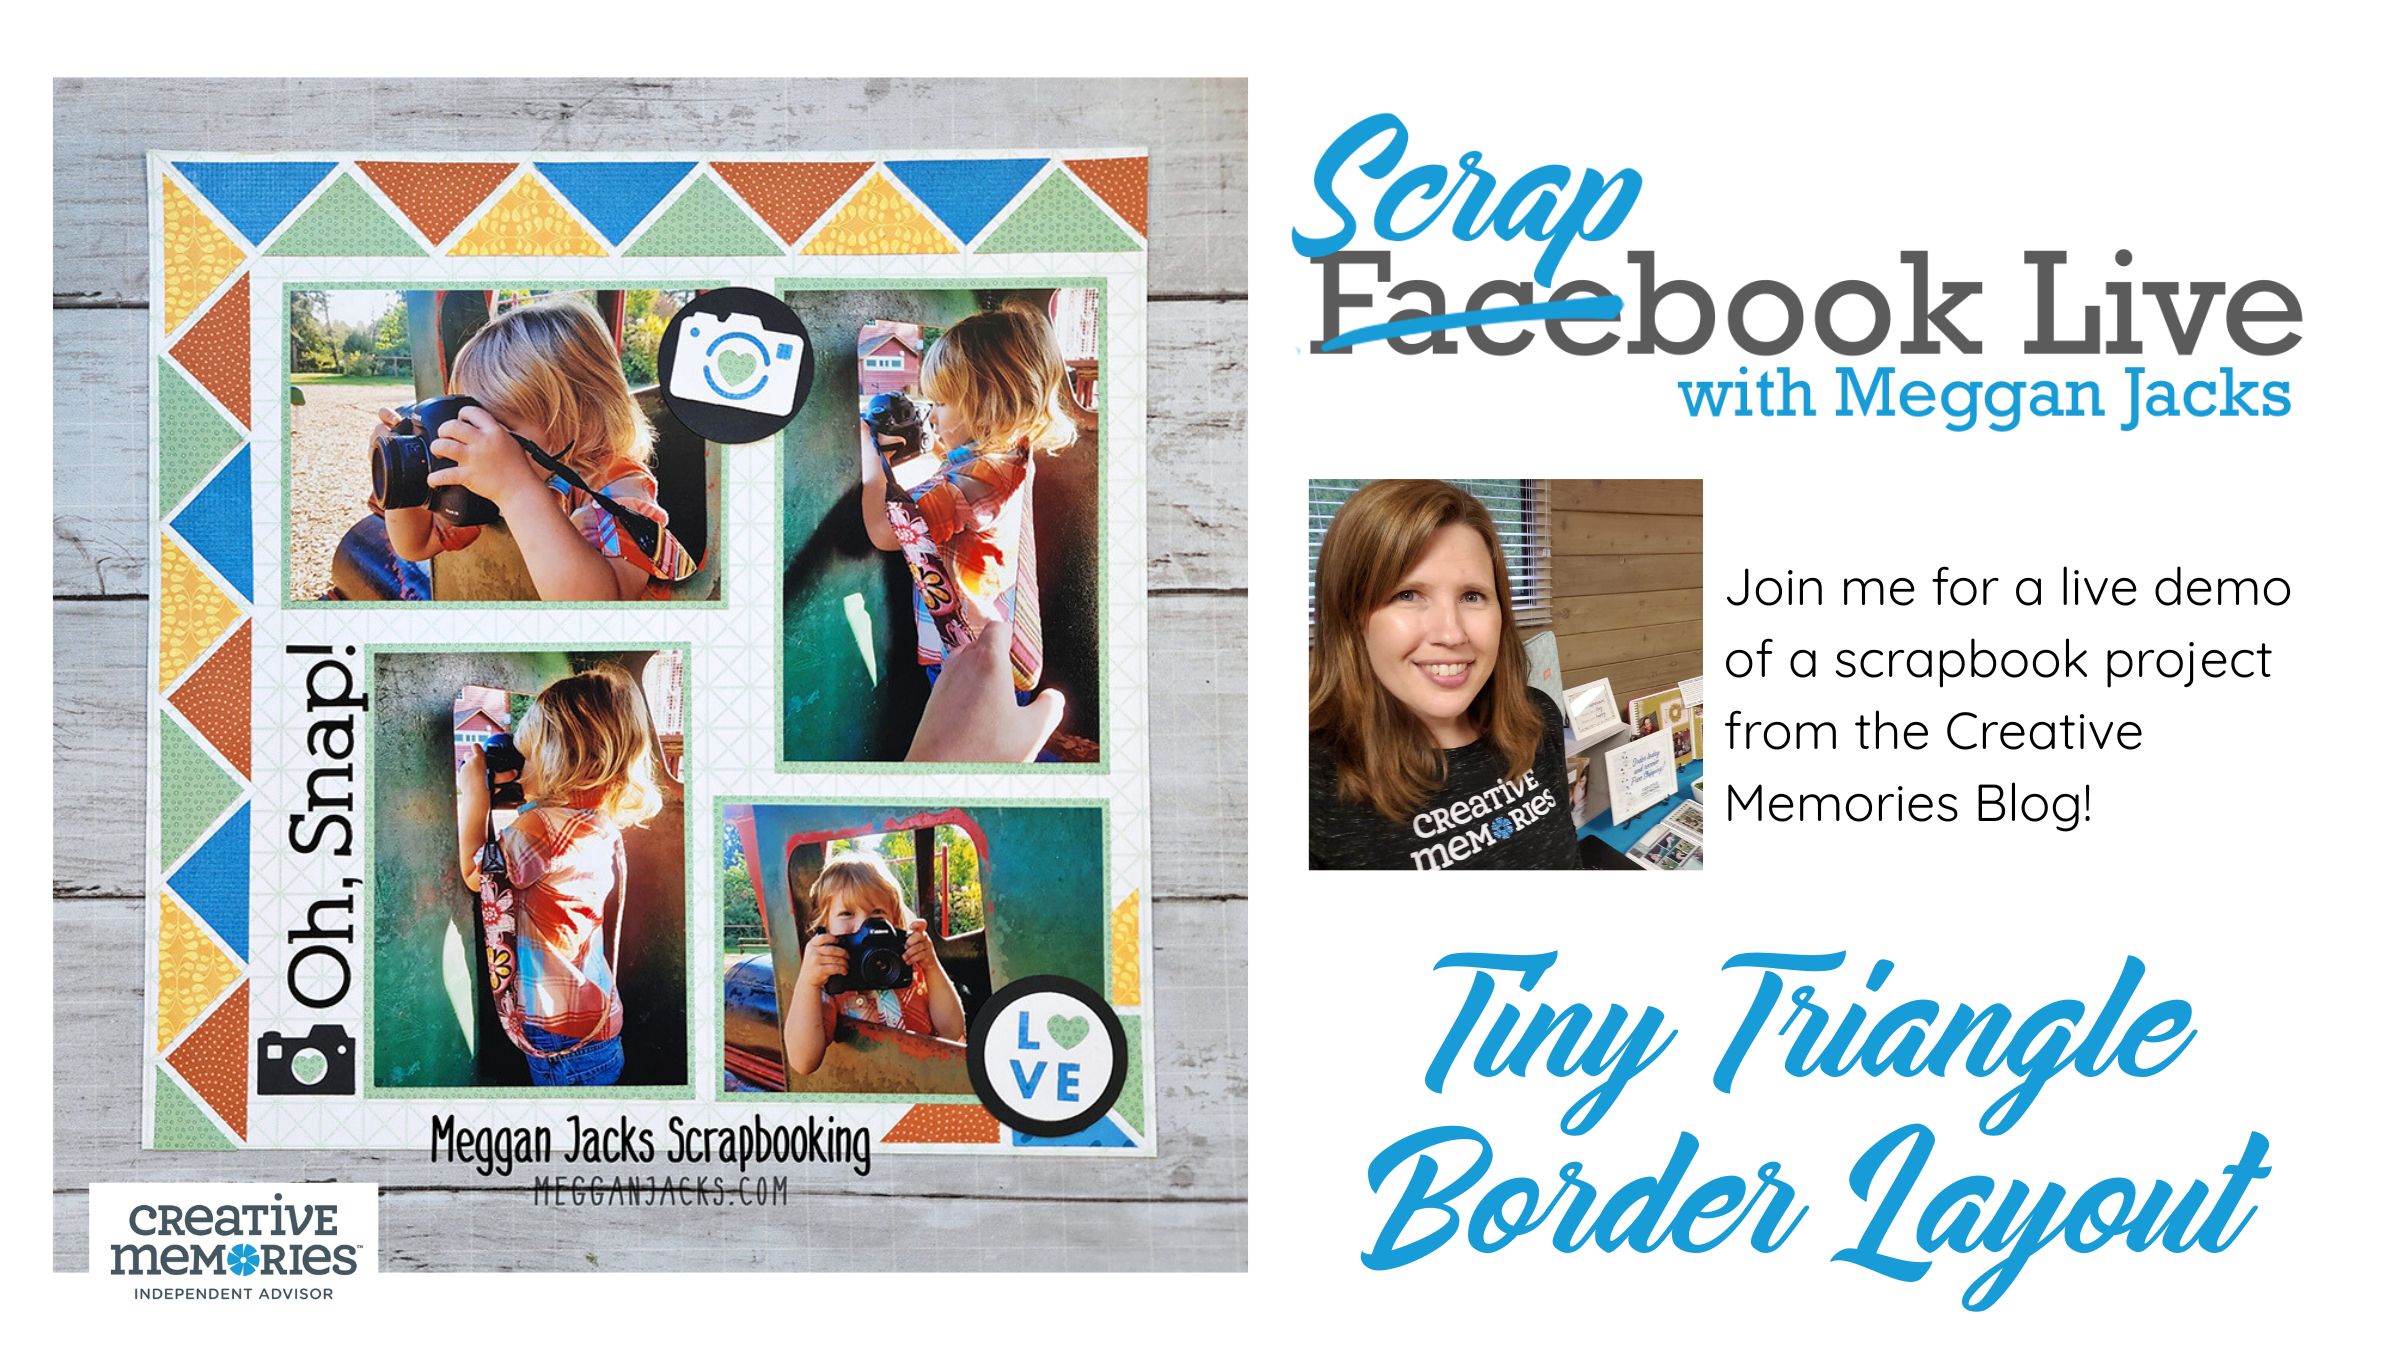
Let’s Make Some Triangles!
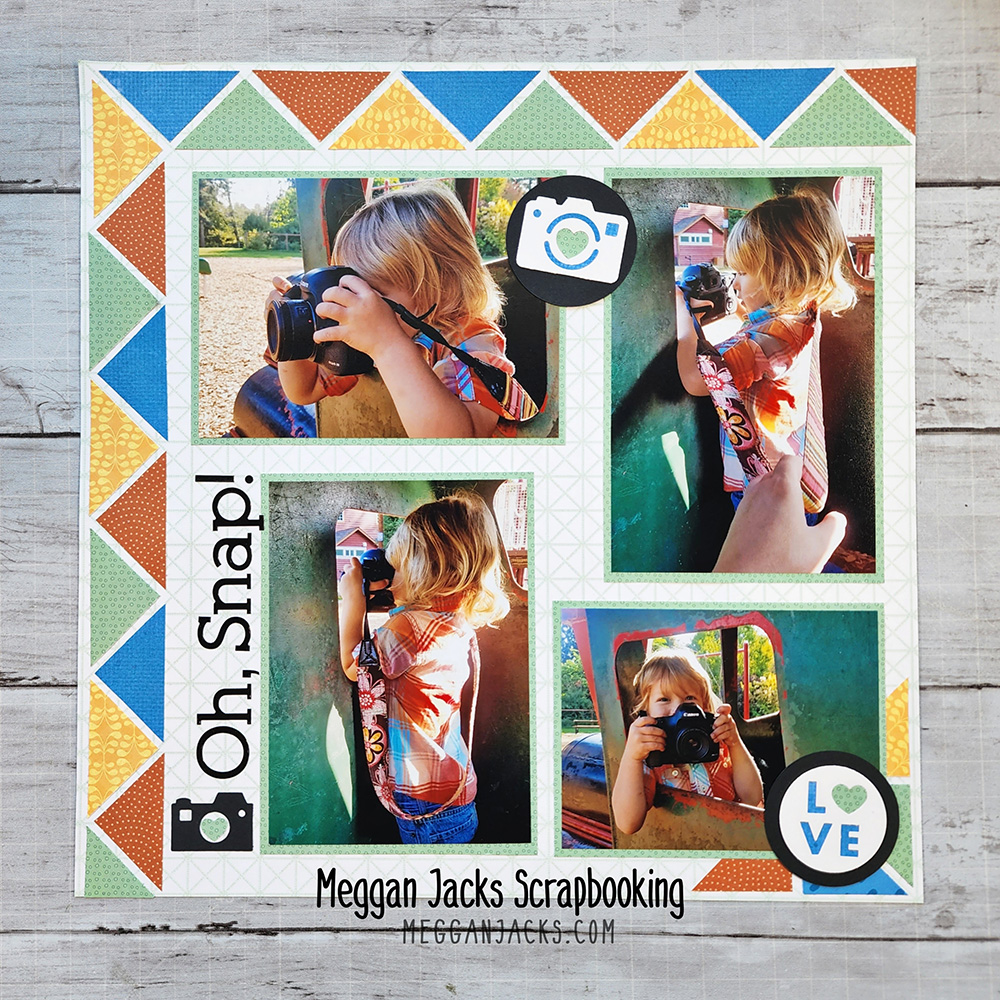
Geometric designs are always a showstopper, and this layout is no exception. At first glance, a border full of perfectly cut triangles may seem like an overwhelming amount of work. I’ll admit—I often look at layouts like this and think, “That’s going to take forever.” But once I read through the steps, I realized the process is very repetitive and easy to follow. The end result is absolutely worth the effort.
To make things even simpler, I’ve included an alternative method in the PDF handout below. If you’re comfortable using scissors for angled cuts, you may find this approach to be a bit quicker than measuring and trimming with a trimmer.
? View the original Creative Memories blog post here.
My Demo Layout
For my demonstration, I chose a mix of tonal papers that coordinate with the colors in my photos. Using a consistent palette keeps the geometric design from feeling too busy while still allowing the pattern to shine.
To finish off the page, I added playful accents with the Camera Love punch (a retired favorite!) and paired it with the Love Letters punch. Together, they provide just the right touch of detail without distracting from the overall triangle theme.
PDF Handout: Tiny Triangles Border Layout
Video Demo: Tiny Triangles Border Layout
Need Creative Memories Supplies?
Please be sure to support a Creative Memories advisor when you shop from the Creative Memories website. If you are not currently working with an advisor, please consider shopping with me! 🙂

Thank you for sharing your gift with us. i’m older and enjoy what you show us.
your clear and to the point, with CM and ideas with short cuts and measurements where they belong. Deb
Love this layout. You made it look so easy. Thanks for the further explanation.