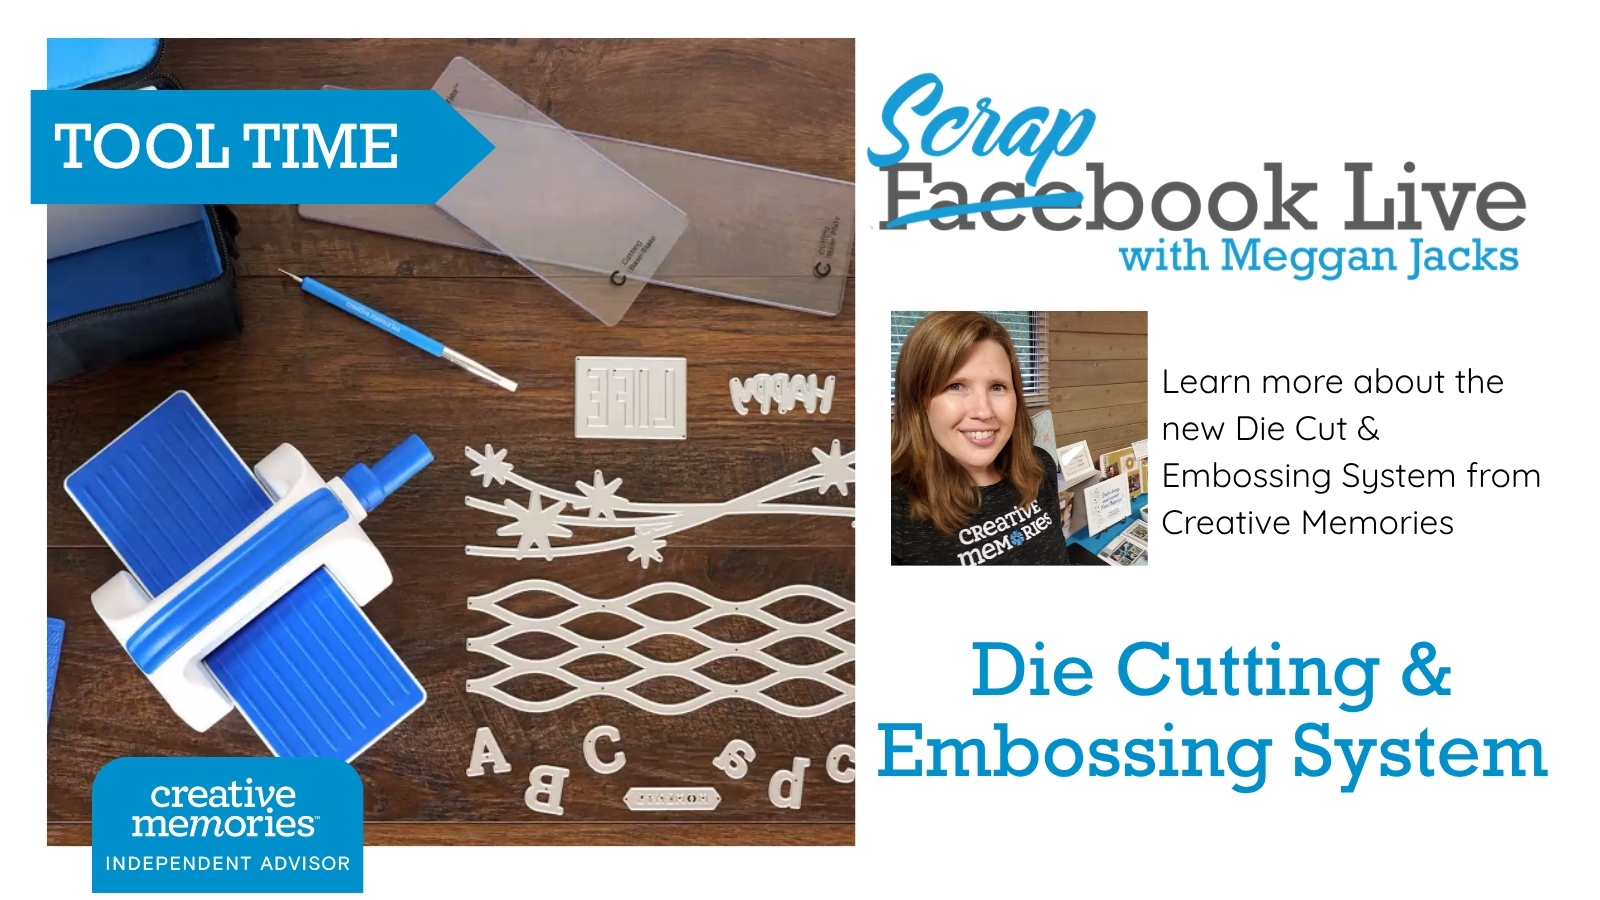
The new Creative Memories Die Cutting & Embossing System is here, and we’re taking a closer look at how it works—and, more importantly, some of the little tips and tricks that can make using it even easier!
I’ve had the opportunity to play with the machine and dies, and while the basic concept is pretty simple—make your sandwich and crank it through—there are definitely a few things I’ve learned along the way.
Tips & Tricks Printable Handout
Tool Time Video
Getting Started with Your Dies
One of the first things to remember is that the cutting edge of your die faces DOWN toward your paper and cutting plate. If you look closely at a die, one side has the raised cutting ridges while the back is relatively flat. When you have everything positioned correctly, you’ll be looking at the flat back of the die before adding your Universal Top Plate.
Keep Your Dies From Moving
Creative Memories does not currently have a magnetic cutting plate, so I highly recommend having some Place & Peel Tape, washi tape or another low-tack tape nearby. You don’t need much! A small piece is usually enough to keep your die from shifting as the plates travel through the machine.
BONUS TIP: Don’t immediately throw that little piece of Place & Peel Tape away! I usually stick mine off to the side and reuse it several times.
When working with designer paper, be a little more cautious. Some tapes can lift the printed surface of the paper, so use the smallest amount necessary to keep everything in place.
Don’t Be Alarmed by the Pops and Creaks!
If you’re new to manual die cutting, some of the sounds can be a little alarming. Your plates may pop or creak as they travel through the machine. That’s normal! You may also notice the plates separating slightly once part of your sandwich has passed through the rollers. That’s another reason securing smaller dies with low-tack tape is helpful—they can’t slide out of position as the pressure changes.
Intricate Die? Give It Two Passes!
This might be my biggest tip for some of the smaller and more intricate dies.
Crank it through and then crank it right back!
Once the entire die has passed through the rollers, don’t take your sandwich apart. Simply reverse direction and run it through a second time. I’ve found this makes a BIG difference with dies that have lots of tiny details. The second pass helps make sure all of those little areas are completely cut.
And if you still have stubborn pieces? Grab your Dual-Tip Tool! The pointed end is perfect for popping those tiny pieces out through the holes in the back of the die.
Don’t Lose Your ABCs!
The Block Serif Alphabet includes lots of individual dies—which also means lots of opportunities for one little letter to disappear! The dies store nicely on the included magnetic sheet, but the magnet isn’t so strong that a letter can never fall off.
My solution?
Before I put my alphabet away, I quickly go through my ABCs and make sure every letter has made it back onto the magnetic sheet. It might sound a little silly…until you’re crawling around under your scrapbook table looking for the letter Z!
If you plan to travel with your alphabet dies, I also recommend keeping the magnetic sheet inside an envelope or enclosed storage pouch. That way, if a die does come loose from the magnet, it stays inside the pouch instead of disappearing into your bag.
Let’s Talk Lattice Wave!
Of all the new dies, Lattice Wave is probably the one I am most excited about because there are SO MANY possibilities!
First, when cutting the full border, you’ll want a generous 3-inch-wide piece of paper. Take an extra moment when positioning your paper to make sure the very top and bottom of the die are covered before running it through the machine. And don’t throw away those little pieces that come out of the center!
Use Both Sides of Your Paper
Try cutting Lattice Wave from double-sided designer paper. Use one side for your main lattice and then flip some or all of the little interior pieces over to reveal the pattern on the reverse side. Suddenly one piece of designer paper gives you a beautiful two-pattern design! You can also run the die through again using a second piece of designer paper and mix and match the pieces from both papers.
Lattice Wave Is a Great Scrap-Buster
You don’t necessarily need to cut another full 12-inch piece of paper just because you want some additional pieces for the inside of your lattice.
Pull out your scraps! Place coordinating scraps over different portions of the die and run them through. You’ll end up with a variety of little pieces that coordinate with your collection without sacrificing another full sheet of designer paper.
My 7/8-Inch Discovery!
This is one of those things I figured out while playing with the die:
If you want to efficiently cut the small interior pieces, try cutting 7/8-inch strips and placing them diagonally across the Lattice Wave die. This allows you to cut the little curved shapes efficiently without ending up with lots of partial pieces.
Think Beyond the Lattice
Those little pieces don’t have to go back into the lattice at all. Look at their shape and start thinking about what else they could become. Flower petals? Leaves? Fish? Waves or water elements? Creative Memories has already shown some really fun examples, and I think we’re only scratching the surface of what we can create with those leftover pieces.
Embossing Folders: Don’t Forget the Other Side!
Embossing folders are designed to add texture rather than cut your paper, and I think they’re going to be a fun way to add subtle detail to layouts.
After running your paper through an embossing folder, make sure you look at both sides. One side is EMBOSSED, with the design raised from the paper. The reverse side is DEBOSSED, with the design pressed into the paper. Sometimes the difference is subtle, but you might be surprised by which side you like better for your layout!
Add a Little Ink
I am still learning how to do this, but so far it’s a fun technique to experiment with! Start by embossing a piece of cardstock or tonal paper. Then take an ink pad and very lightly skim it across the raised embossed surface.
The key word here is LIGHTLY! You aren’t trying to push ink down into every little recessed area. You just want the ink pad to catch the raised portions of the design. It adds color while emphasizing all that beautiful texture—almost like getting a stenciled effect without actually using a stencil.
Your Cutting Plate Is Going to Look Used!
If you like your tools to stay looking brand new, I’m going to prepare you now:
Your cutting plate is going to get marked up! That’s its job. The Cutting Base Plate takes the pressure from the dies, so you’re going to see cutting marks appear and the plate may eventually begin to warp.
The good news is that you can use both sides of the Cutting Base Plate. Flip it periodically to help counteract some of that warping and spread the wear between both sides.
If you use your machine frequently—or plan to let customers use it at crops and events—I also think it’s a good idea to have an extra Cutting Base Plate tucked away as a replacement.
Can I Use Creative Memories Dies in Another Machine?
Creative Memories DIES should work with many other manual die-cutting machines, but there’s an important distinction:
Use the plates designed for YOUR machine.
Cutting plates come in different widths and thicknesses because they’re designed to create the correct amount of pressure inside a particular machine. The Creative Memories plates are designed for the Creative Memories Die Cutting & Embossing Machine.
If you’re using a Big Shot, Cuttlebug or another manual die-cutting machine, use the plates and sandwich recommended by that machine’s manufacturer. You may need to experiment with shims or plate combinations to get the best results.
You’ll also need plates long enough to accommodate Creative Memories’ 12-inch border dies and embossing folders.
Manual Die Cutting vs. Cricut or Silhouette
One question I’ve heard is whether this replaces something like a Cricut or Silhouette. They’re really two very different things. A Cricut or Silhouette is an electronic cutting machine. It gives you tremendous flexibility—you can search for designs, resize them, change fonts and create all sorts of custom pieces.
The Creative Memories system is completely manual. No computer. No app. No electricity. No scrolling through 3,487 fonts trying to decide which one is PERFECT for your layout. (Maybe that’s just me…)
You choose a die, put your paper down and crank it through.
For me, that’s actually part of the appeal. Sometimes I don’t want unlimited choices. I just want to cut some pretty letters or a great border and get back to scrapbooking!
One More BIG Advantage: Storage!
If you’ve been scrapbooking for a long time, you might already have a shelf—or several shelves—filled with punches and Border Maker Cartridges.
Dies take up VERY little space by comparison.
A magnetic sheet holding an entire alphabet or a 12-inch border die takes up a fraction of the storage space of a traditional punch. That’s also a huge advantage if you travel to crops or retreats. You can bring quite a few dies without sacrificing a big portion of your scrapbook luggage to tools.
I don’t think dies replace our punches and Border Maker Cartridges. They each do different things and have different strengths. But I definitely think the compact size of dies is going to be a welcome addition to our tool options!
Most of All—PLAY!
As I’ve experimented with the new system, that’s probably my biggest takeaway. Don’t just look at a die and assume there’s only one way to use it.
- Cut it from double-sided paper.
- Try it with scraps.
- Flip the pieces over.
- Use the negative pieces.
- Turn them sideways.
- Mix patterns.
- Look at both sides of your embossed cardstock.
The more we play with these tools, the more possibilities we’re going to discover—and I have a feeling we’re going to see some incredibly creative ideas as more scrapbookers get these dies into their hands!
Happy scrapbooking!