Creative Memories introduced a new Circle Cutter tool in May 2021. I will admit I was a bit skeptical of the need for a new tool to make circles. The Custom Cutting System templates are pretty fantastic to use – why would we need anything else? Sure, there are some gaps in the sizing, notably between the largest circle template in the Circles Trio and the Jumbo Circle, but a whole new tool to learn? Not so sure about that…
Well, here I am just a few days after receiving the tool with my May order and I will admit – it’s pretty slick. Using the ruler to essentially “dial in” a size will be so helpful and making nesting, concentric rings is pretty darn amazing.
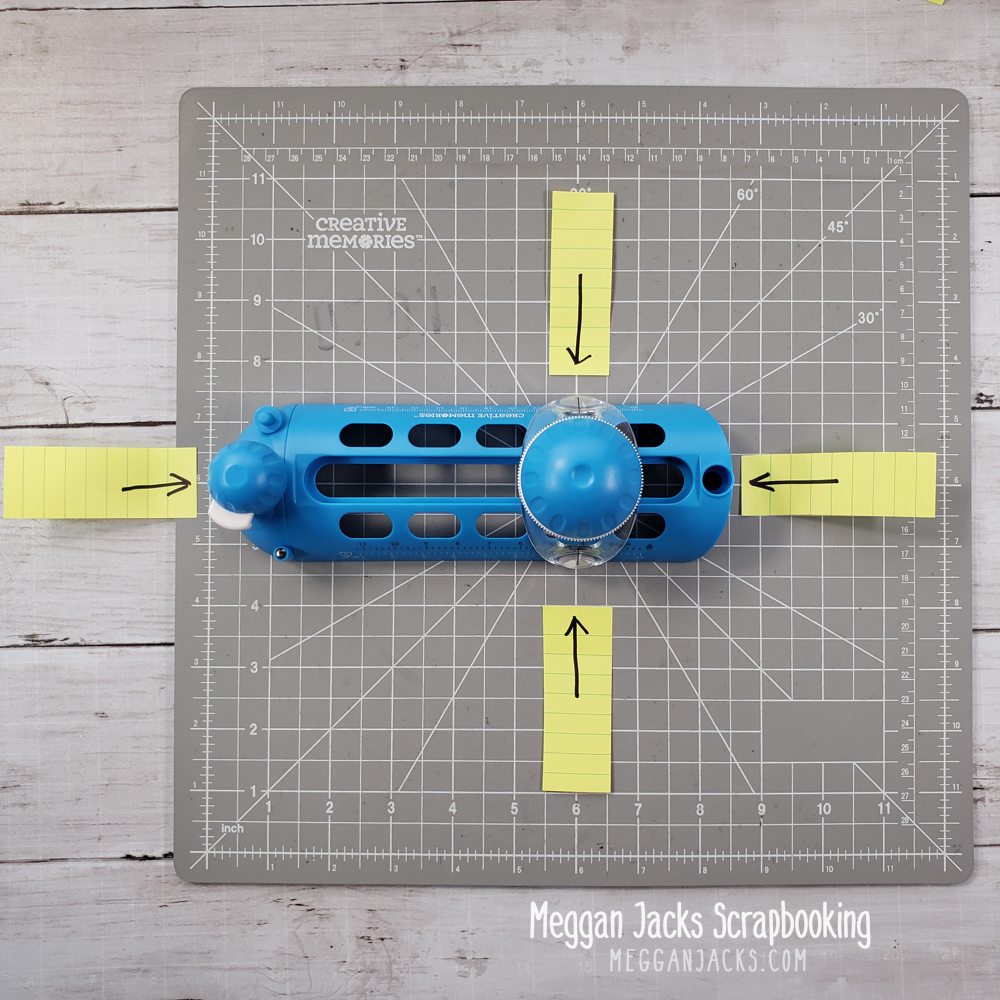
One bit of feedback I heard early on is that the tool is a bit difficult to figure out placement. It’s not as intuitive as the Custom Cutting Templates where you get to see the ENTIRE circle by default. But after actually getting to put my hands on the Circle Cutter, I can see there are three points on the tool that will help with centering and if you are willing to use a sharpie on your new tool, you can create a fourth mark that makes positioning quite a bit easier.
Three Centering Marks
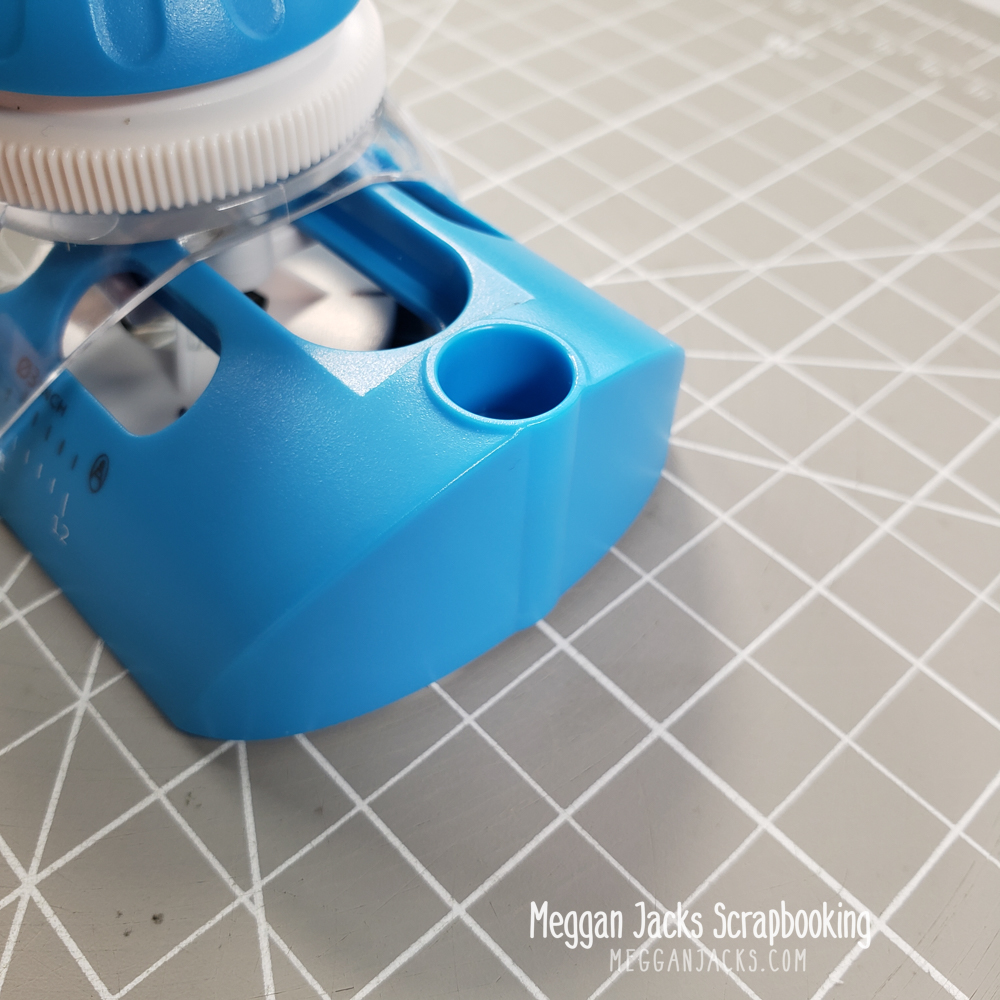
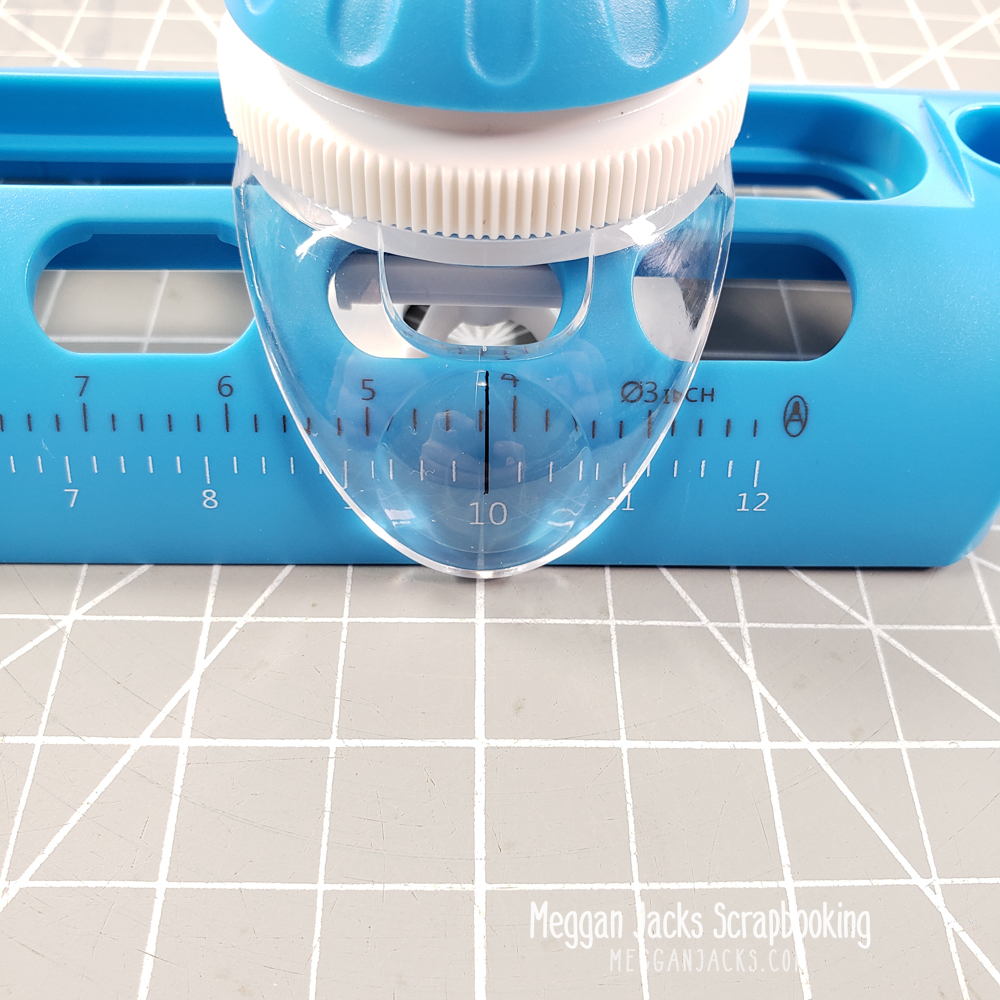
The first centering reference point is on the pen holding end of the cutter. There is a bump out that is positioned perfectly for lining that side with reference points on your trimming mat. The other two built in marks are the black lines that indicate the sizing you have selected for your circle. These black marks line up perfectly with the pivot point of the cutter itself.
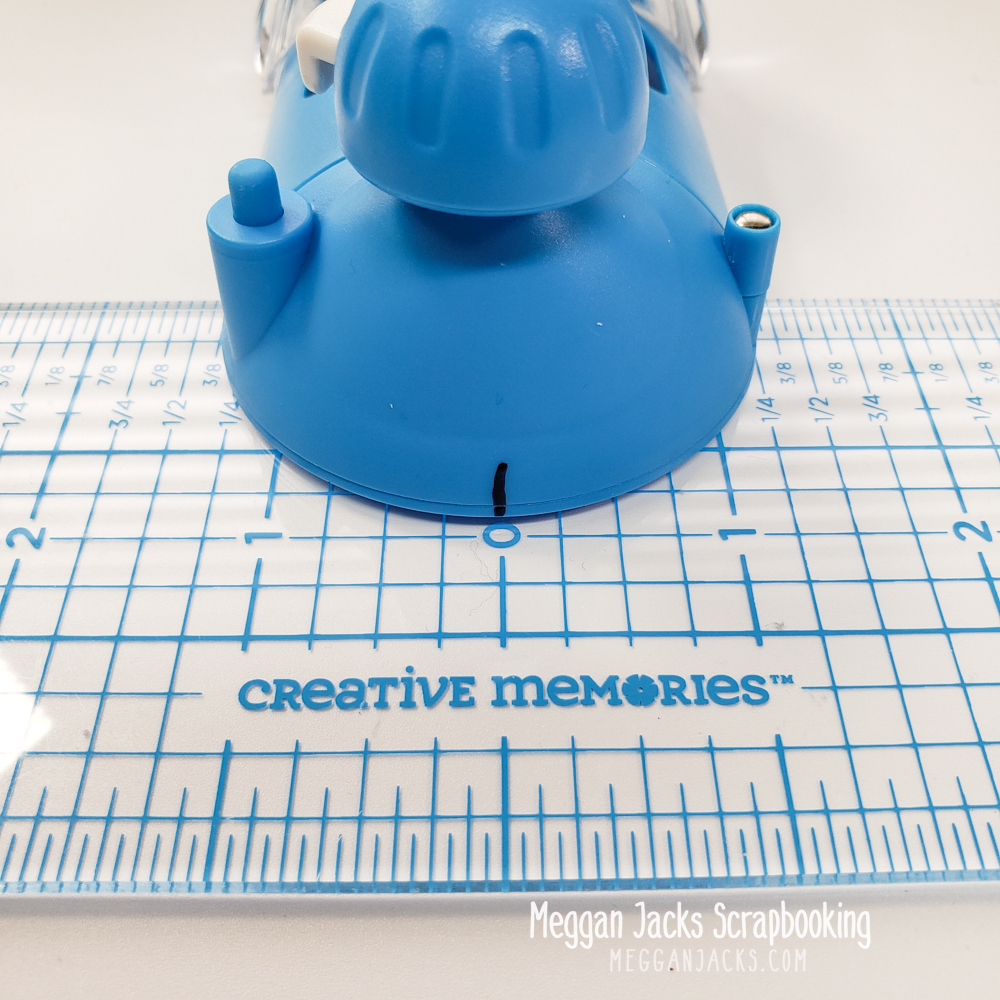
While you can do a pretty good job positioning the tool with just these three reference points, I always like to have 4 points if possible. It just helps make it even that much more accurate. I used my Zero Center Ruler to help find the center point on the blade end of the the Circle Cutter and used a Sharpie to mark that point. Now I have four points for positioning.
Making Concentric Nesting Circles with the Creative Memories Circle Cutter
Here are some quick tips for using the Circle Cutter to make concentric circles:
- Start with the LARGEST circle first and work inwards to the smallest. The tool is holding the paper in the middle, as compared to the outside, so if you cut a small circle first, the tool will lose its “grip” on the paper after cutting that first small circle.
- Do not move the cutter between cuts. You do not want to have to re-center the tool each time. Keep pressure on center knob if possible to keep it tight to the paper. Use your other hand to loosen the white ring to allow you to resize.
- Be sure to retighten the white ring after adjusting the size.
- PRACTICE FIRST! Do not use your best paper the first time you set out to practice making consecutive circles with the cutter. Grab some scraps – even printer paper – and practice. You do not have to start out making big rings – you can start with smaller rings on printer paper. Your goal is to get used to keeping the cutter in place while making the size adjustments.
Please see the video below for a walk through of making concentric circles.
Interested in purchasing the new Circle Cutter? You can find it online in my CM store – www.creativememories.com/user/meggan
The tool is selling really well – as of today, May 9, 2021, it’s listed as a HOT item in the store and could sell out. And while I expect CM to get more in, the supply chains are running a bit slow due to COVID, so that restock could take a few months.