Want to receive Scrapbook Live notifications to your inbox? Subscribe HERE!
A Warm-Up for the October Virtual Crop
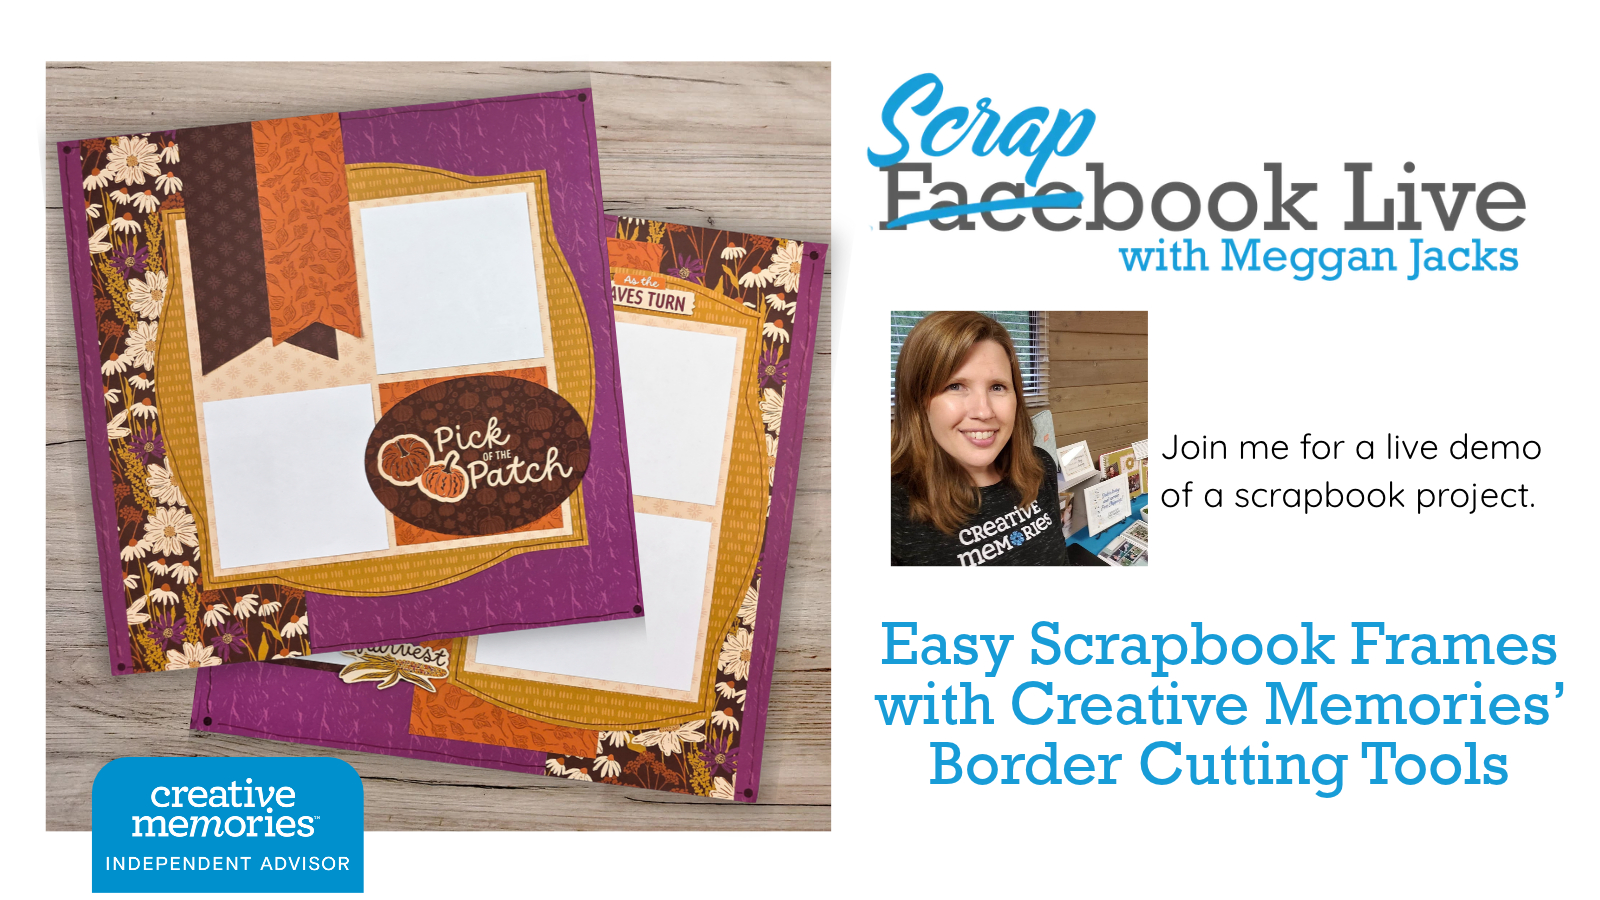
This week, we’re going back into the Creative Memories archives for a little sketch inspiration — but with an updated twist!
We’ll be working with a sketch from the September 2021 Creative Memories Virtual Crop. This one is a bit of a throwback for me because I created one of the sample layouts featured with the original sketch and also shared a short video demonstrating how to create decorative frames using the now-retired 12-inch Decorative Trimmer. (A throwback sketch featuring throwback photos of baby Cody!)
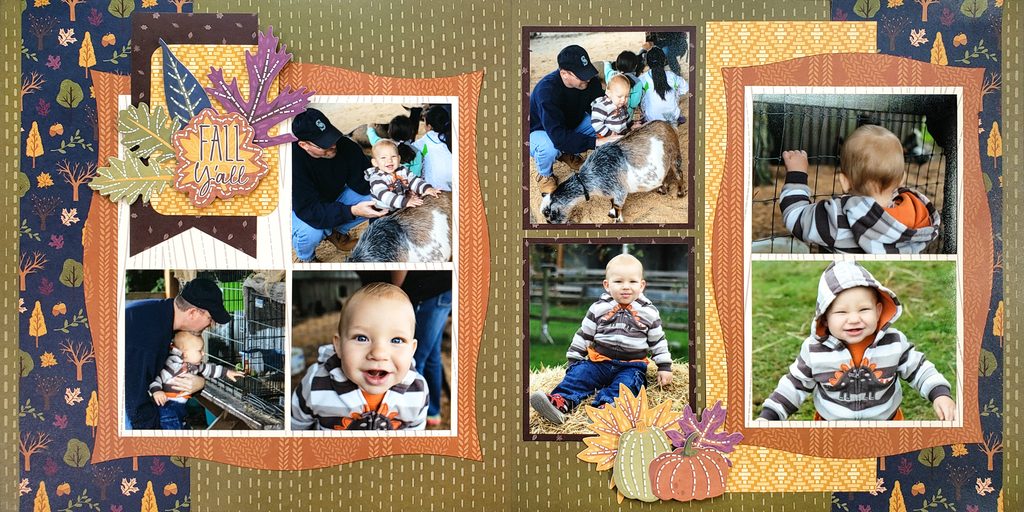
Five years later, I thought it would be fun to revisit the same sketch and framing idea — but update the technique using the border cutting tools we have available today.
Creating Scrapbook Frames with Border Cutting Tools
Instead of the Decorative Trimmer, we’ll use Creative Memories Border Cutting Tools to create quick and easy decorative frames for our layout.
Frames are a simple way to add interest to a scrapbook page, and changing which Border Cutting Tool (BTC) cutting edge you use can give the same basic frame a completely different look. Once you understand where to position your BTC, you can also start experimenting with different frame sizes and decorative edges.
And that brings us to another little detail I want to explore this week: the R, G and B markings molded into the “feet” of the BTCs.
What Do the R, G and B Marks Mean?
If you look closely at the clear plastic feet of your border cutting tools, you may notice tiny letters: R, G and B. They can be very easy to miss! The letters are molded directly into the clear plastic rather than printed in color, but they correspond with the Red, Green and Blue blades of the Creative Memories Custom Cutting System.
Creative Memories has referenced these markings in Project Recipe instructions, giving us a handy way to describe exactly where a border cutting tool should be positioned when making a cut. For our project, we’ll primarily be working with the R marking.
During Scrapbook Live, I’ll show you exactly where to find that mark and how we can use it to line up a border cutting tool with measurements on the 13×13 Custom Cutting System Mat. Once you know what you’re looking for, those tiny markings can be surprisingly helpful!
Stretching Our Creative Muscles
Our layout is also a fun warm-up for the Creative Memories October 2026 Virtual Crop, which begins later Friday. We’ll start with a five-year-old Creative Memories sketch, revisit an idea from my original sample and then update the technique using today’s tools.
Join me Friday, October 9 for Scrapbook Live and we’ll make the layout together!
We’ll cover:
- How to create decorative scrapbook frames with border cutting tools
- Where to find the R, G and B markings on your border cutting tools
- How to use the R marking to help position your tool on the 13×13 mat
- How to adapt an older Creative Memories technique using current tools
- Ideas for taking the original sketch and making it your own
Grab your border cutting tools, some paper and photos, and come scrapbook with me!
Class Results – Gorgeous Autumn Abundance
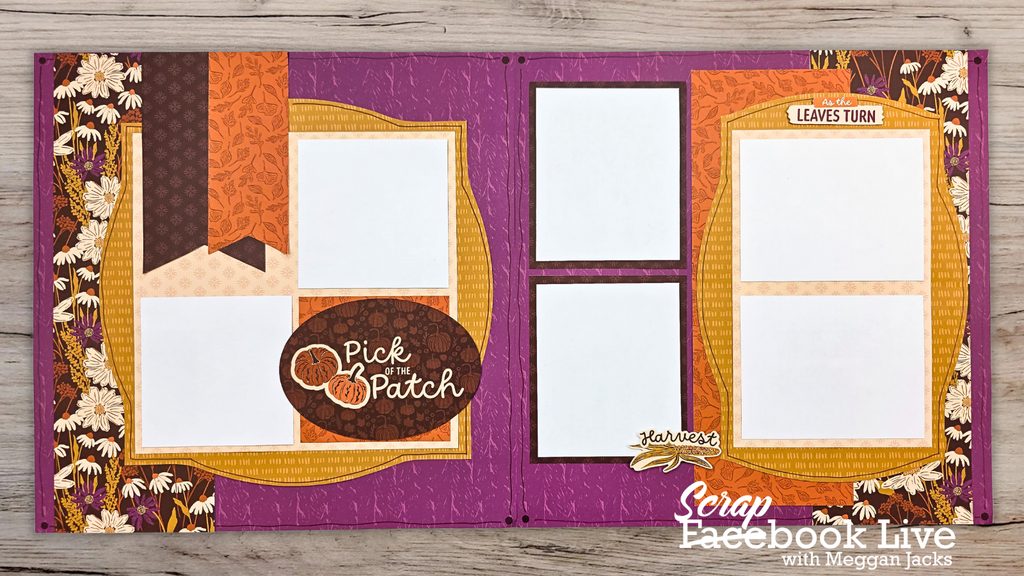
Handout: Marking the Border Cutting Tools for Easier Positioning
Need New or Retired Creative Memories Supplies?
Please consider shopping with me when you shop Creative Memories online! You can also shop my personal inventory of new and retired Creative Memories supplies (click the blue button below).