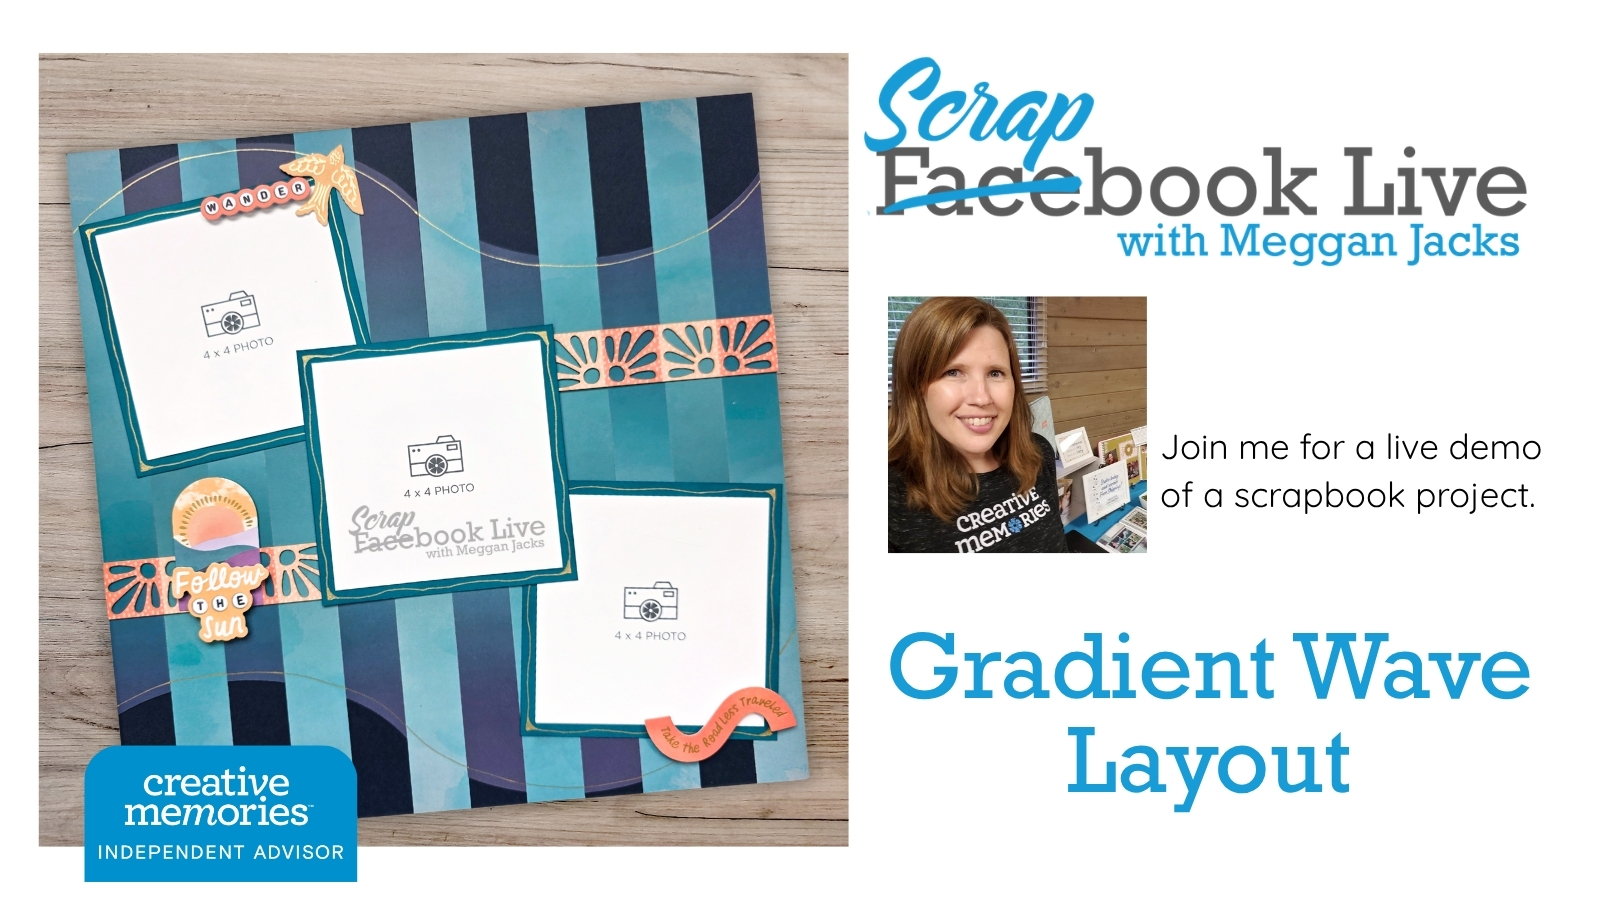
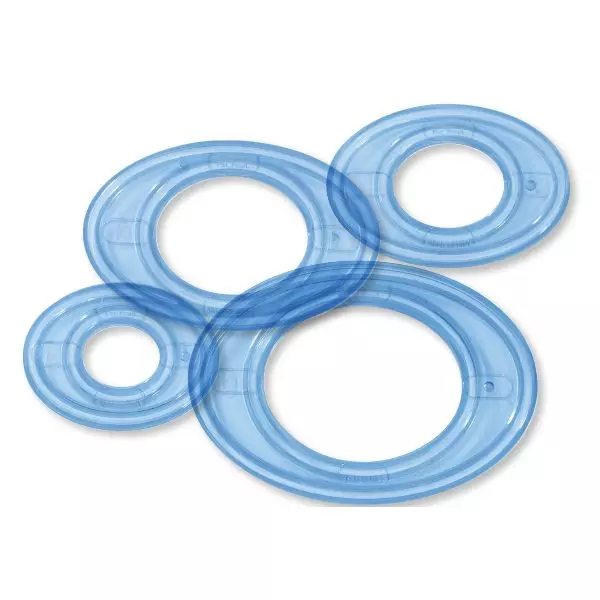
This week’s project is what I’m calling the Gradient Wave Layout. We’ll use the Ovals Custom Cutting System Patterns to create a flowing wave along the bottom of a sheet of gradient paper, then use the 12″ Trimmer to transform that paper into a striped background.
Making the Most of Gradient Paper
Gradient paper is one of those papers that can be beautiful all on its own. The gradual shift from one color or tone to another gives us something interesting to work with—and for this layout, we’re going to make that color change an important part of the design. In the handout sample, I used the blue/purple gradient paper from the Free Spirit Designer Paper Pack.
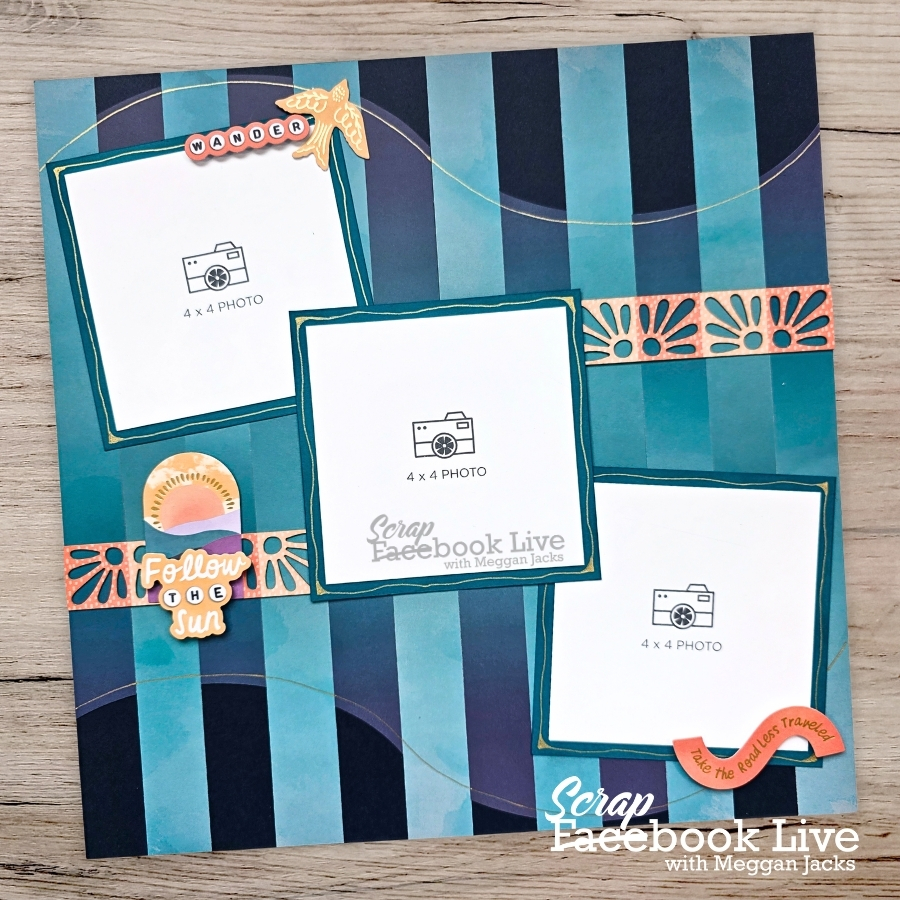
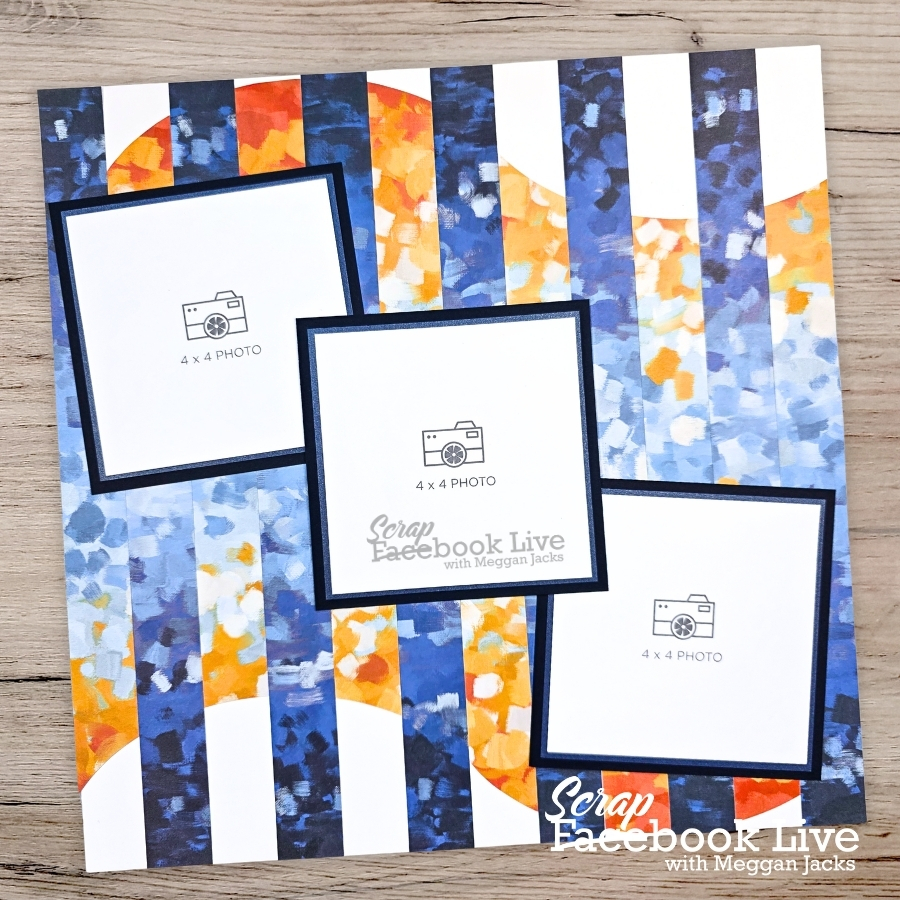
After creating the curved cuts with the Ovals Custom Cutting System, we’ll cut the paper into strips and rearrange selected pieces. That simple change turns the original gradient into a completely different background while still allowing you to see the progression of colors across the page.
The finished design is very versatile, too. Depending on the gradient paper you choose, you can completely change the feel of the layout to work with your photos.
You can certainly try this technique with other designer papers as well. Just keep in mind that without the gradual color change, the finished effect will look a little different.
What You’ll Need
If you’d like to create along with me, gather:
- Practice 12×12 paper (optional, but recommended)
- 1 sheet of gradient paper
- 1 sheet of coordinating cardstock or paper for the base page
- Cardstock for photo mats
- Creative Memories Ovals Custom Cutting System Patterns
- Red Custom Cutting System Blade
- 13×13″ Cutting Mat
- 12″ Trimmer
- Repositionable Adhesive
- Embellishments as desired
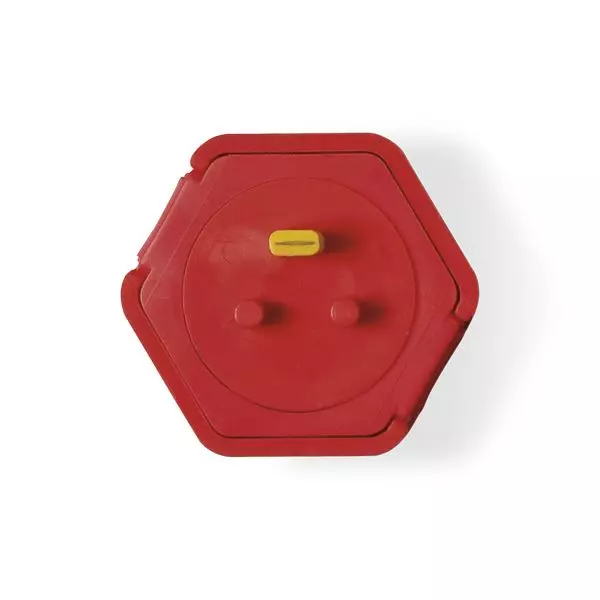
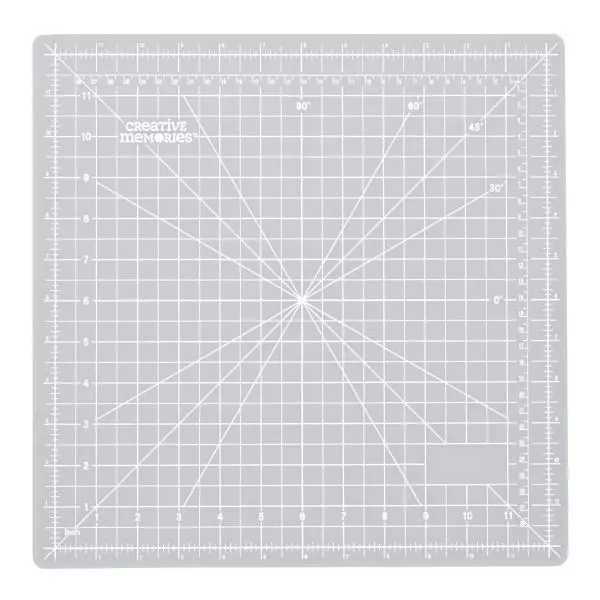
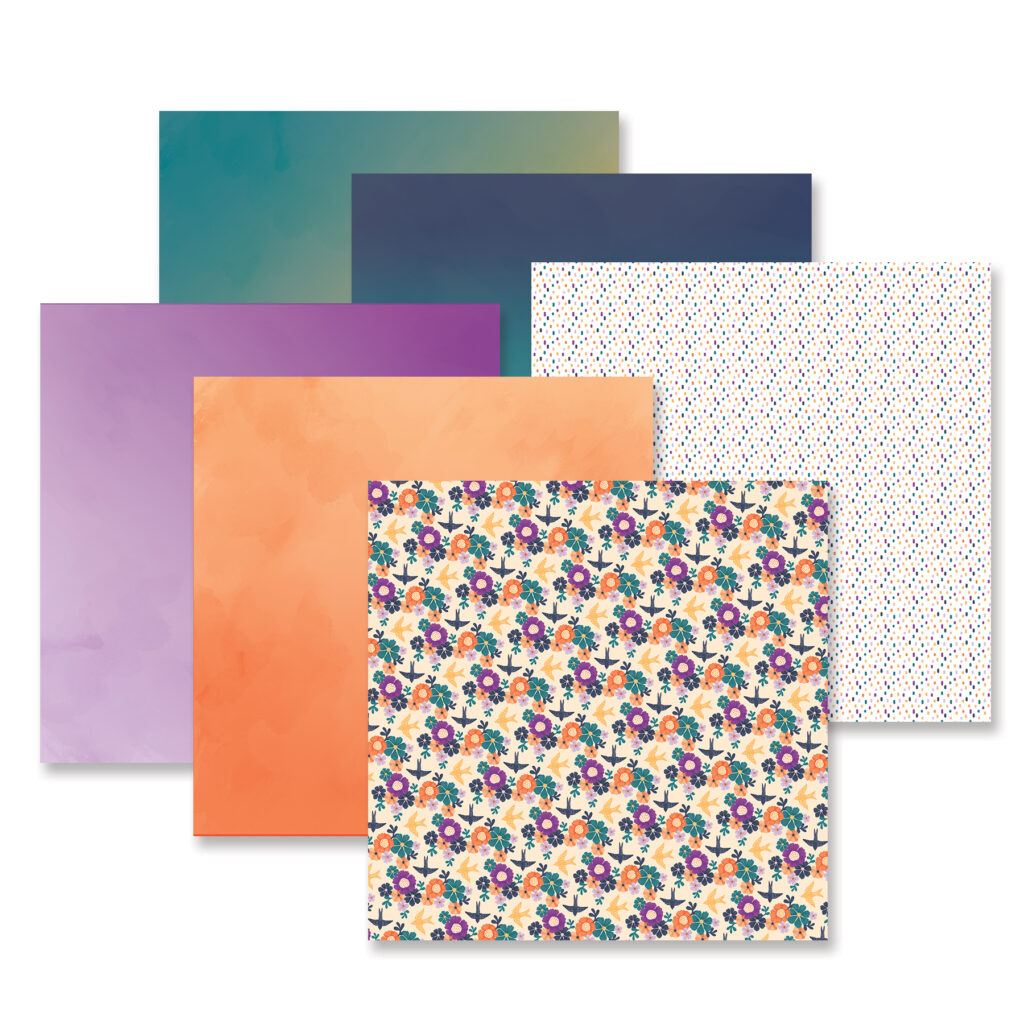
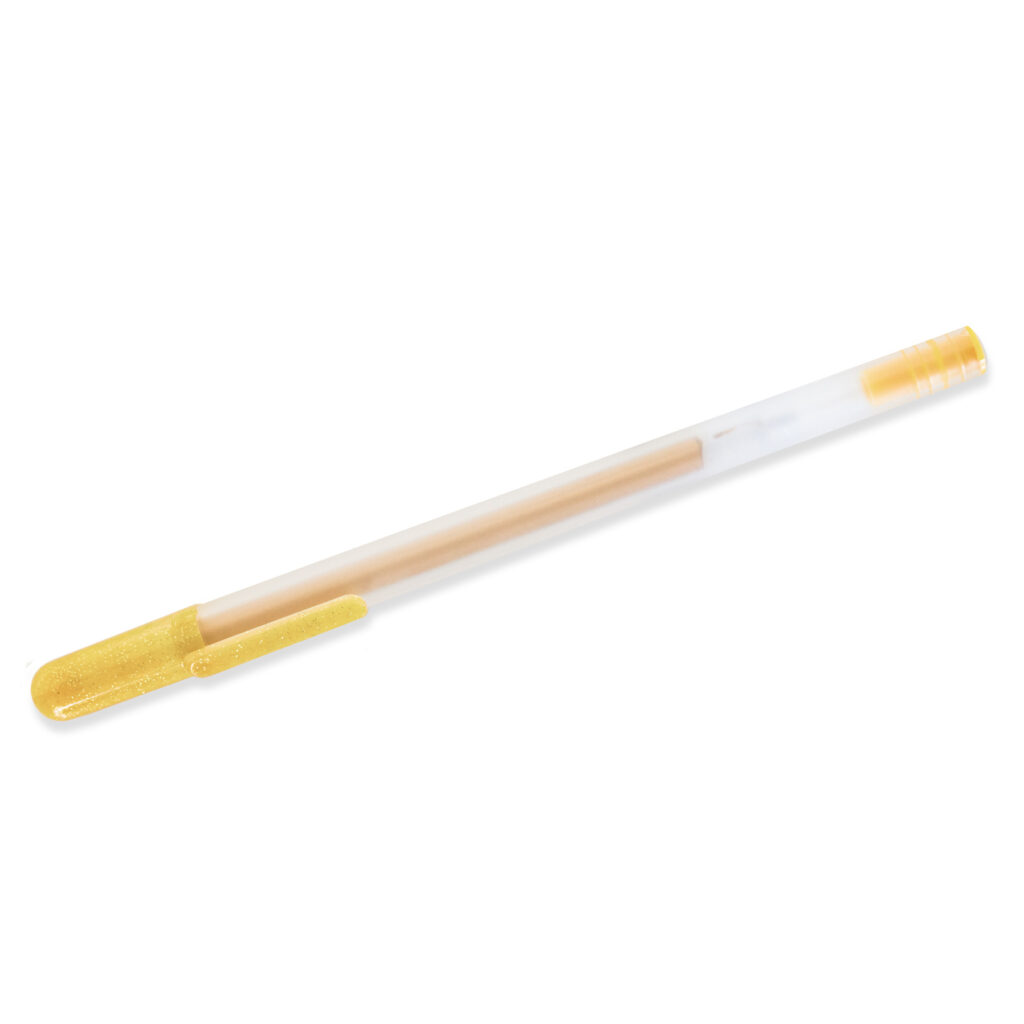
I also used ink and a brush to do some shading detail to the cardstock mats and also used a gold metallic pen on my sample layout to accent the wave. Those little finishing details are completely optional, and during the live I’ll talk about different ways you can embellish the layout and make it work with your own photos and supplies.
One suggestion before you start: grab a piece of scrap paper and practice making the partial oval cuts. The cuts themselves aren’t difficult, but practicing once before cutting into your gradient paper can help you get comfortable with where to position the oval pattern and blade.
Miss the Live? Watch the Recording Now!
Gradient Wave Directions – PDF Handout
Need New or Retired Creative Memories Supplies?
Please consider shopping with me when you shop Creative Memories online! You can also shop my personal inventory of new and retired Creative Memories supplies (click the blue button below).