Last week we had a lot of fun with the mosaic frame – a bit of a technical challenge, but the results were well worth a few curses. 🙂 This week I am dialing it back a bit to something that is simpler, but still a visually stunning page. I plan to make a few minor changes to the layout to accommodate using the Circle and Love Letters Punches from Creative Memories.
You can see the original blog layout HERE.
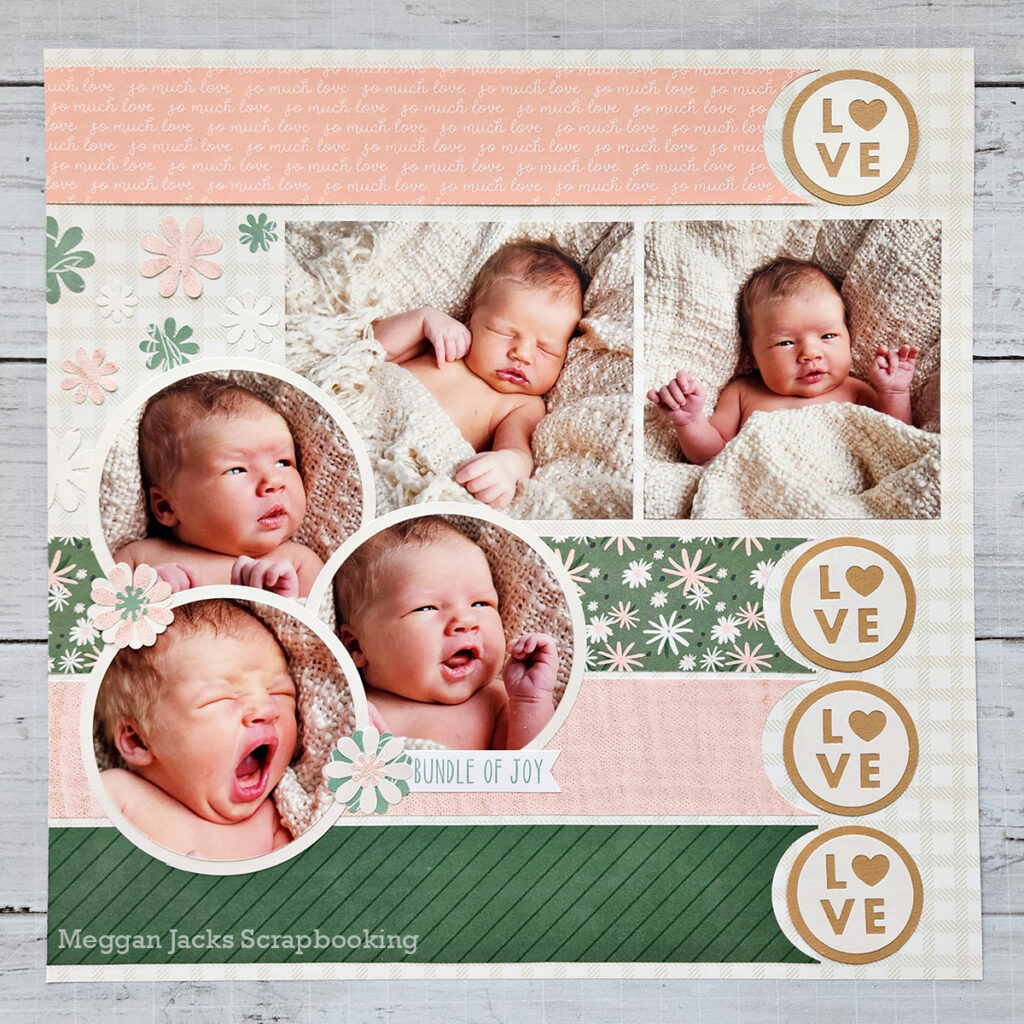
For my demo layout I made the strips 12 x 1-3/4″ wide so I could punch the ends with the Circle Punch. This left me with a smaller space for the horizontal photos, but I was okay leaving off the mat and adjusted to include one 3-7/8″ square photo as well as a 4-1/2 x 3-7/8″ photo.
The circle photos were cut with Circle #3 (largest circle pattern) using the red blade on the inside track. To mat the photos, I used white shimmer paper and cut circles with the Circle Cutter which allowed me to dial in a circle that was approximately 3.7″ in diameter. This mat was less ‘chunky’ than a mat made with Circle #1 (smallest circle pattern) and the red blade on the outside track. A smaller mat meant it was easier to cluster the photos close together.
I added a bit of embellishment with the (retired) Daisy Bouquet punch.
The Handout
Need Creative Memories Supplies?
Please be sure to support a Creative Memories advisor when you shop from the Creative Memories website. If you are not currently working with an advisor, please consider shopping with me! 🙂