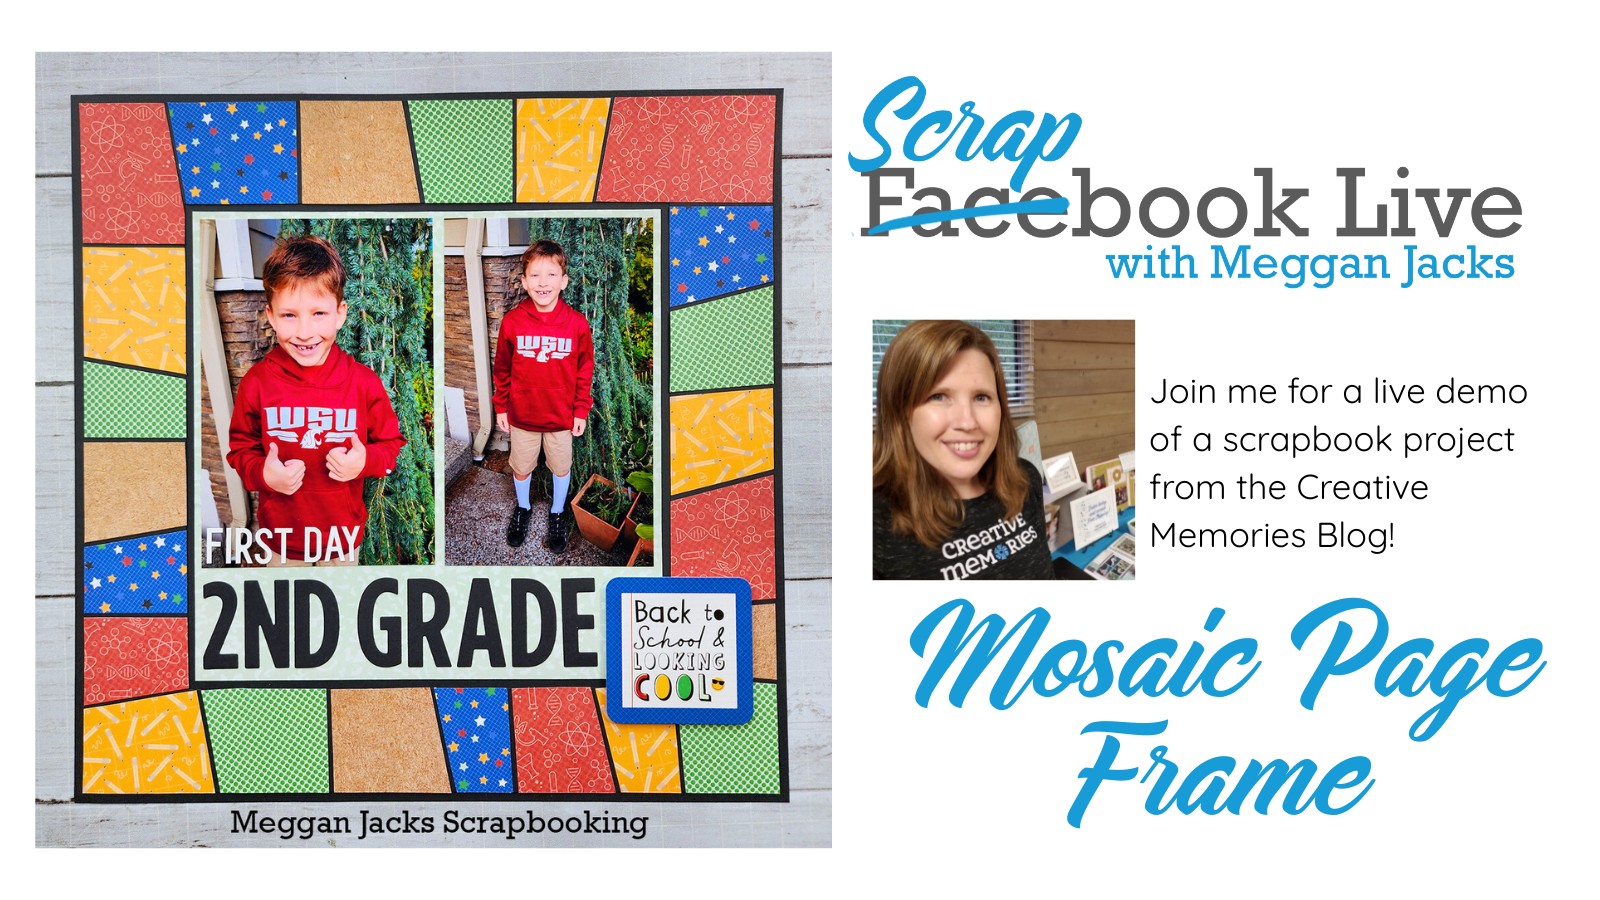
I’m excited to share a stunning layout inspired by a design from Sachiyo Omitsu! If you’re familiar with Sachiyo’s work, you know she often uses clever techniques to create eye-catching effects—and this layout is no exception. While she’s shared a similar mosaic concept in the past, this version puts a fresh spin on the idea, making it a perfect project to feature. I’ll be honest—I plan to practice it a bit before demoing it live, but I can’t wait to show it off!
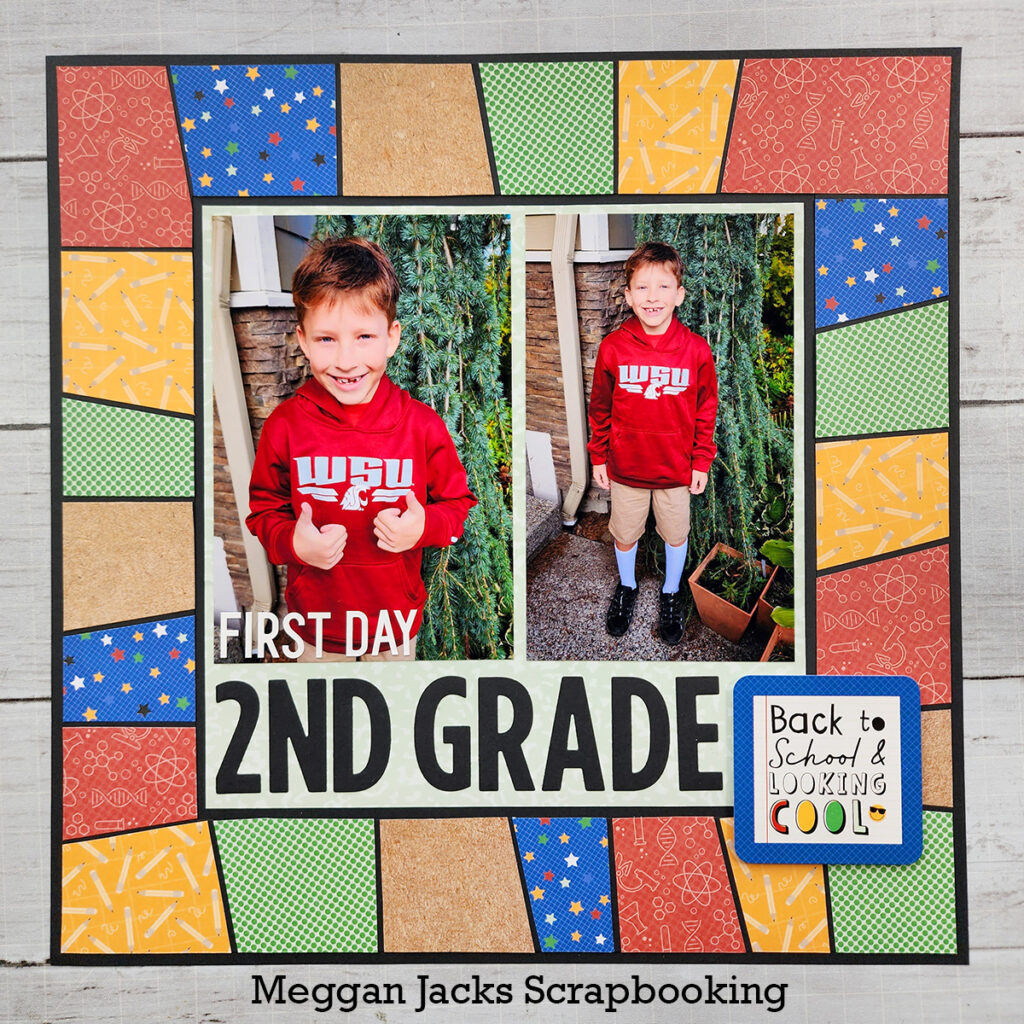
For my take on this layout, I decided to go with a Back-to-School theme using the (now retired) Back to School collection from Creative Memories. This collection is so versatile and charming—ideal for highlighting school memories, classroom moments, and even everyday learning adventures. One of my favorite things about this project is that I was able to use paper scraps left over from a previous project. There’s something especially satisfying about making a beautiful layout and using up your stash efficiently!
In my demonstration (video below), I walk you through the process step by step. I did make one small modification to the original frame measurements: I trimmed the frame width to 1-3/4 inches instead of the standard 2 inches. This gave me a little more space in the center for photos—perfect for incorporating a 4×6 image with a Peekaboo Pocket™.
Pro Tip: When cutting out the inside of your frame, binder clips make excellent start/stop guides. Check out this VIDEO for a visual how-to!)
The Handout
You can find the original CM Blog post HERE.
Need Creative Memories Supplies?
Please be sure to support a Creative Memories advisor when you shop from the Creative Memories website. If you are not currently working with an advisor, please consider shopping with me! 🙂