Learn more about the Memories Matter Virtual Crop to benefit the Alzheimer’s Association.
Make cool waves with the Custom Cutting System Border Cutting Tools
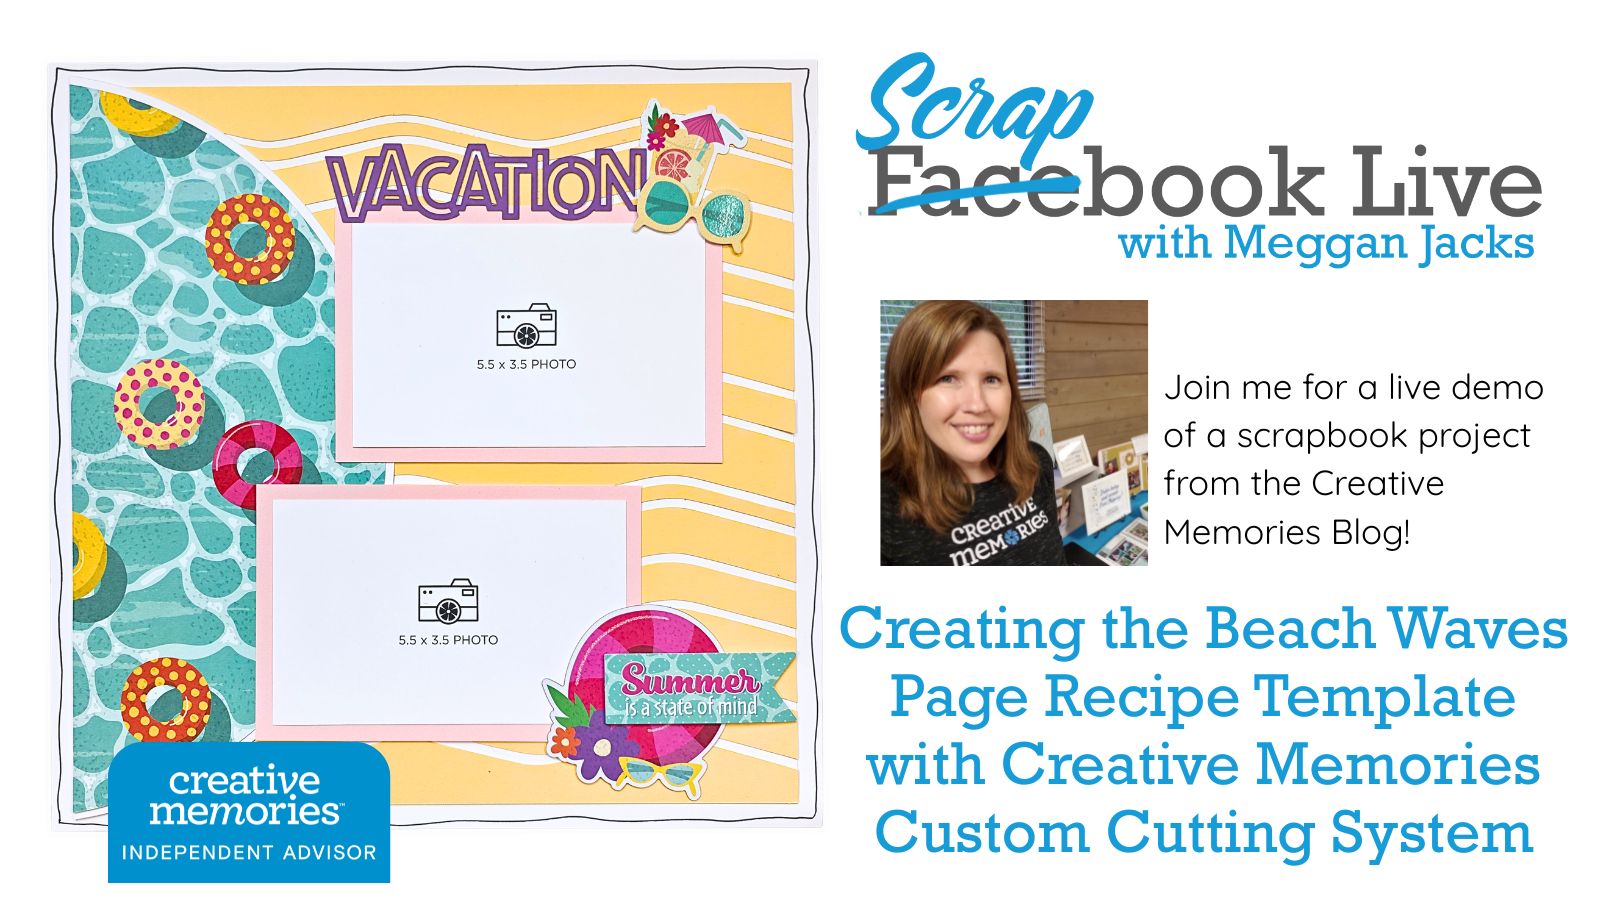
Things are starting to heat up in Phoenix as we head into summer and that has me dreaming of cool water waves – when it’s 100+ degrees out, I am not picky if those waves are from the ocean, a recreational lake or even those in my own backyard pool! Just give me some water! Creative Memories released the Beach Scenes mini-collection last year and with it came the Beach Wave Page Recipe Template. I will admit – It retired before I could get my hands on it, but never fear – we are going to make our own version of it this week on Scrapbook Live!
Here’s the plan: we are going to use two Creative Memories tools together to recreate that gorgeous Beach Waves look using whatever papers you already have in your stash (it doesn’t even have to be beach/summer related!) The Border Cutting Tools create the flowing wave edges that give this layout its signature look. Then the Jumbo Circle CCS Pattern comes in to cut a half circle element that does double duty — it gives you a solid, clean space for your page design AND neatens up one edge of the layout beautifully.
Those two tools working together make for one stunning page.
Demo Video
Handout
This is one of those sessions where we are going to WING IT a little, so there is no handout this week, but our goal remains the same – explore our tools and have some fun!
Supplies:
- Jumbo Circle CCS Pattern
- Border Cutting Tools – I will be using the zig zag edge (You can also use the 12-inch Decorative Trimmer if you have it)
- 13×13 Cutting Mat
- CCS Blades (Red, Green, Blue)
- Cardstock (I used 3 pieces of the same color because of the way my sample came togheter, but we will see if we can improve upon that during class)
- Designer Paper
How to make this layout
The following are the general directions to make the layout. These directions do not allow you to conserve the bright white cardstock, but as I mention in my demo video, I think it was easier to just create the beach wave strips as a whole block rather than trying to cut things down later.
- Cut one piece of Bright White Cardstock to 11-1/4″ x 11-1/4″. Set aside.
- Choose a piece of cardstock for your border strips. Apply repositionable adhesive to the bottom one-third of the cardstock and secure it to the 13″ x 13″ cutting mat. This will help hold the paper in place while cutting.
- Align the top edge of the cardstock with the top feed of your chosen Border Cutting System tool. Using the Red Blade, make the first cut to create a strip with a straight top edge. Keep this piece, as it will be used on the layout.
- Continue moving the Border Cutting System down the cardstock, cutting strips in a variety of widths. Some strips can be as narrow as 1/4″ while others can be up to 1-1/2″ wide. Continue cutting until approximately 3-1/2″ of cardstock remains at the bottom.
- For the final cut, position the Border Cutting System so the bottom edge of the template track sits just above the straight bottom edge of the cardstock. Use the Red Blade to trim off the remaining bottom section. Keep this piece to use as the bottom strip on the layout.
- Arrange all of the border strips across the 11-1/4″ Bright White Cardstock square, spacing them evenly from top to bottom. Once satisfied with the arrangement, adhere the strips into place using repositionable adhesive.
- Center the completed 11-1/4″ square onto a 12″ x 12″ piece of Bright White Cardstock and adhere into place.
- Using the Jumbo Circle Pattern with the Green Blade on the outside track, cut a half circle from Bright White Cardstock.
- Using the Jumbo Circle Pattern with the Red Blade on the outside track, cut a coordinating half circle from designer paper. Adhere the designer paper half circle to the Bright White half circle.
- Position the layered half circle on the layout as desired. Depending on placement, you may wish to trim approximately 1/2″ to 3/4″ from the straight edge of the half circle before adhering.
- Add photo mats, photos and embellishments as desired to complete the layout.
A few things to know before you join me:
Before you start cutting into your good designer paper — grab some scratch paper first! Seriously, this is one of those techniques where practicing your cuts before committing to your good stuff is going to save you a lot of heartache. We’ll work through it together and figure out what works best before we go all in. If you don’t have the border cutting tools, you can use the retired 12-inch Decorative Trimmer OR just use a straight trimmer.
Need New or Retired Creative Memories Supplies?
Please consider shopping with me when you shop Creative Memories online! You can also shop my personal inventory of new and retired Creative Memories supplies (click the blue button below).